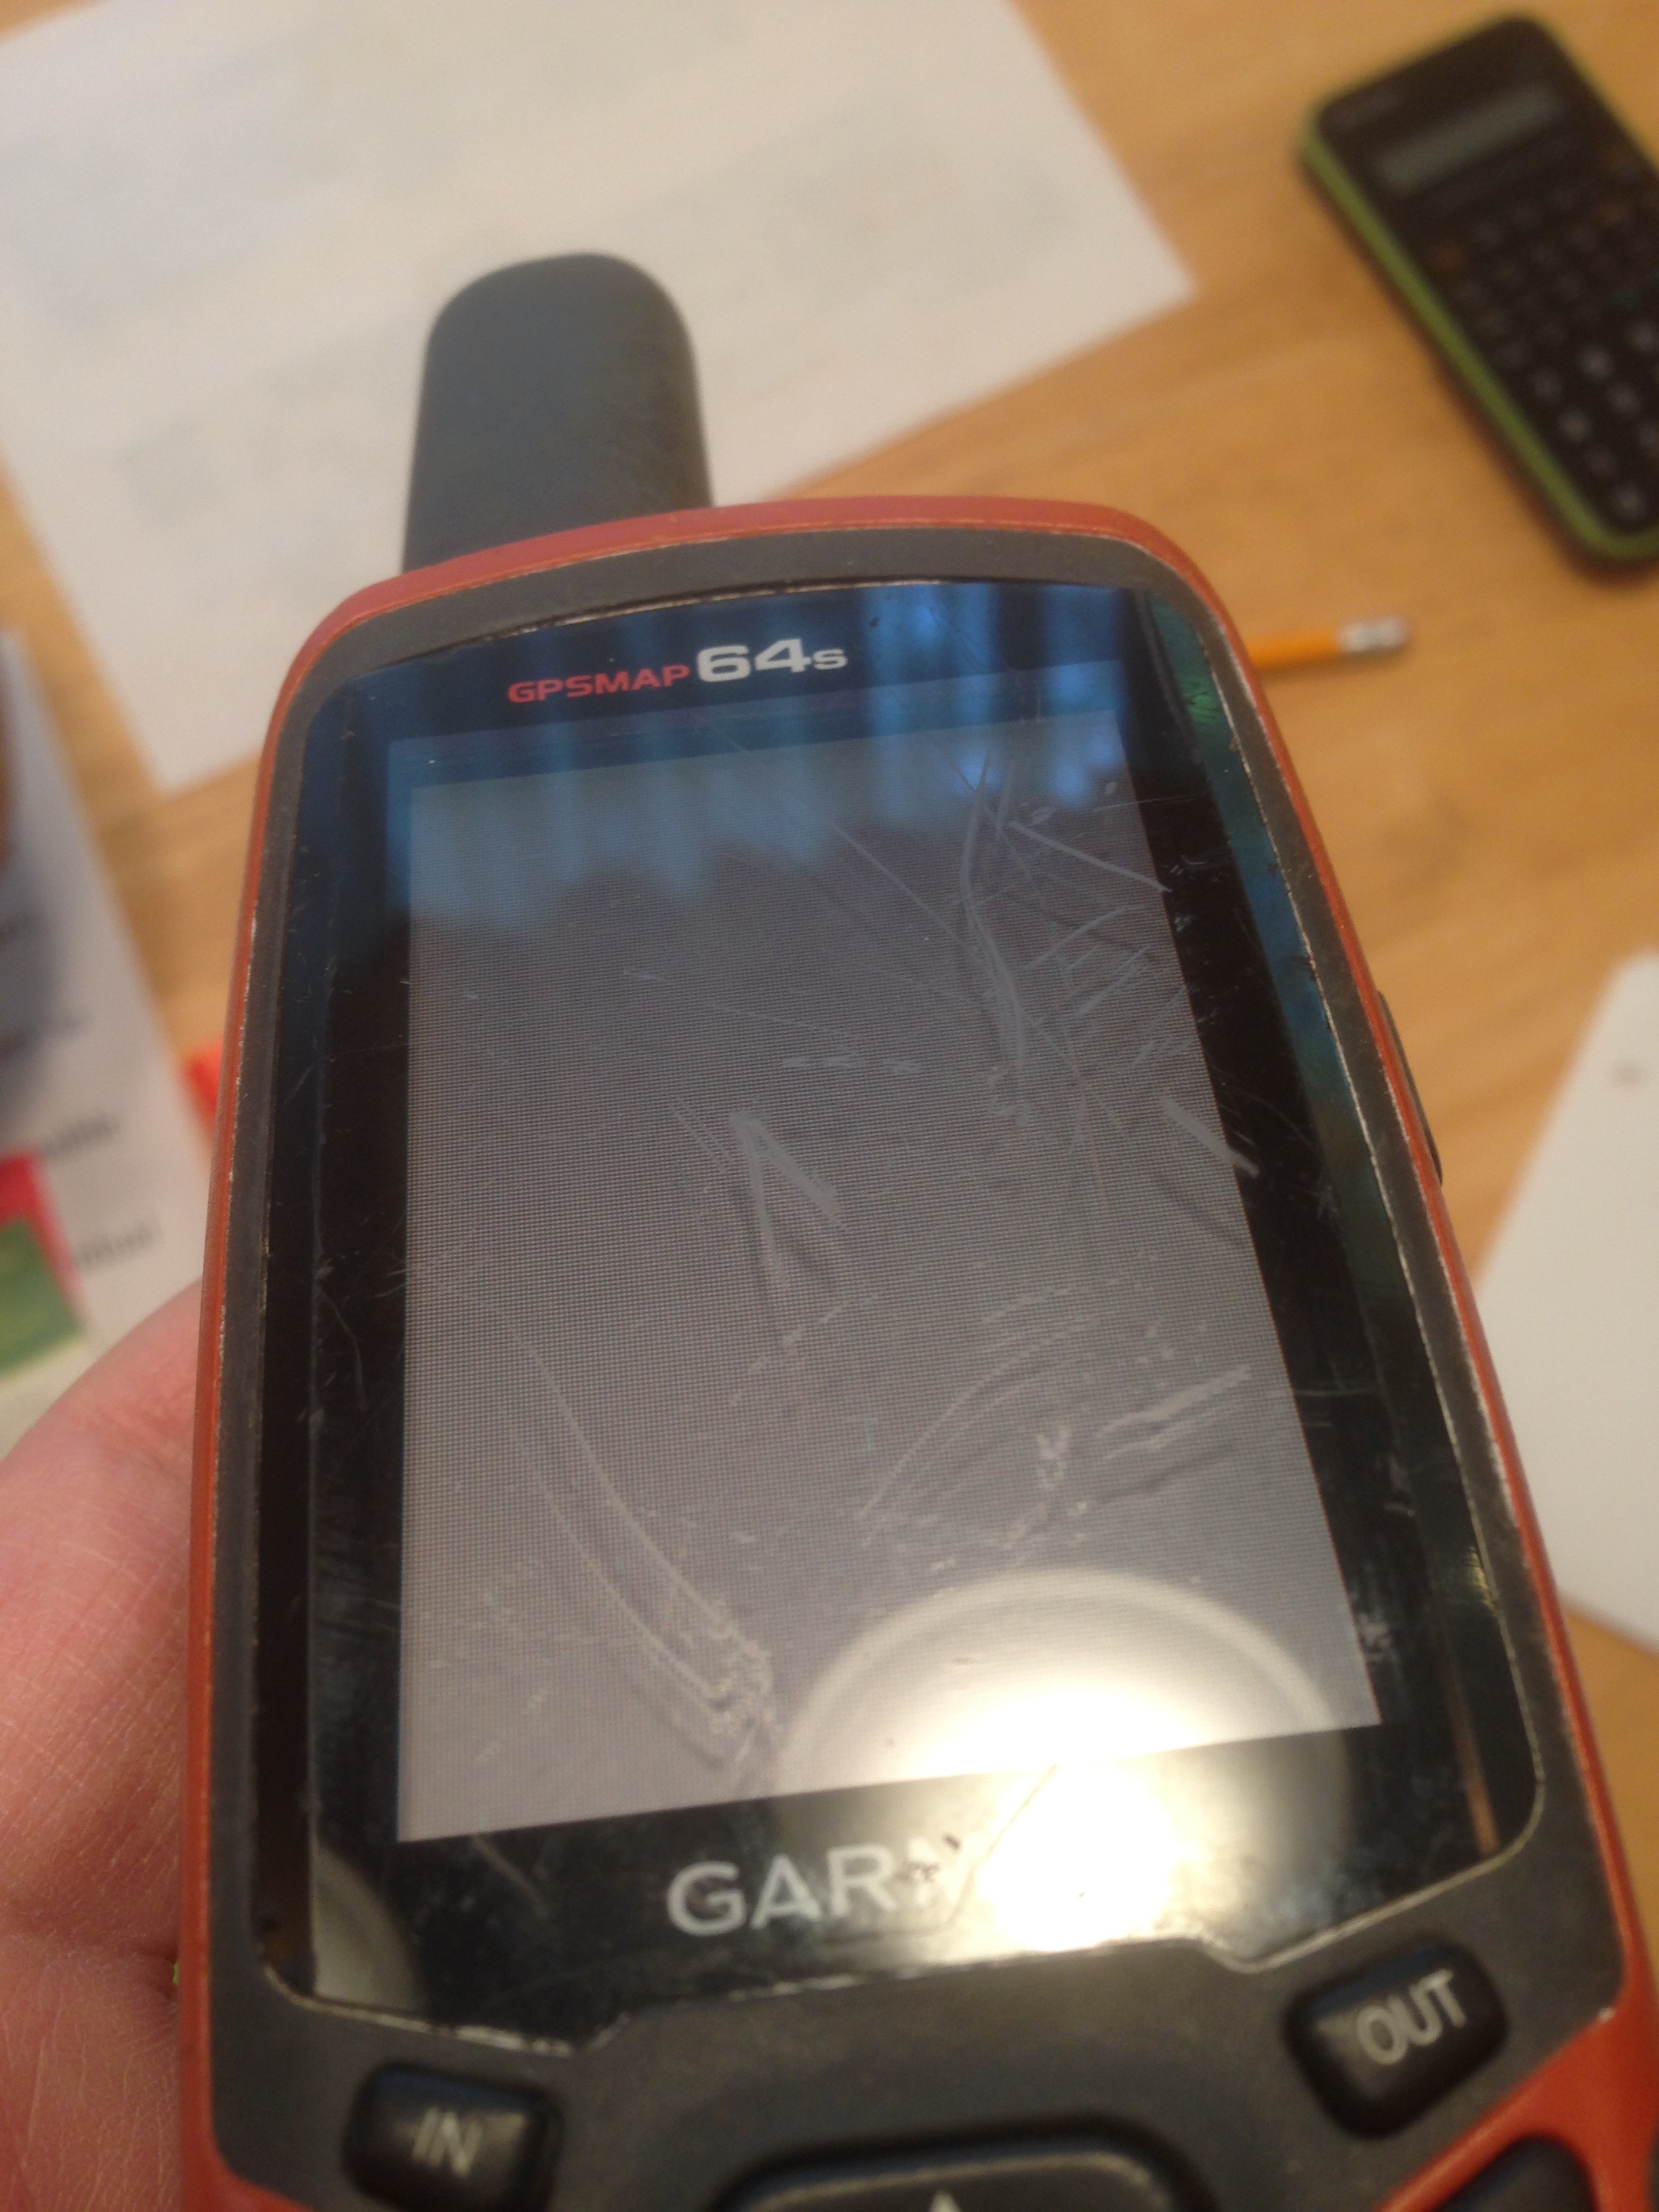
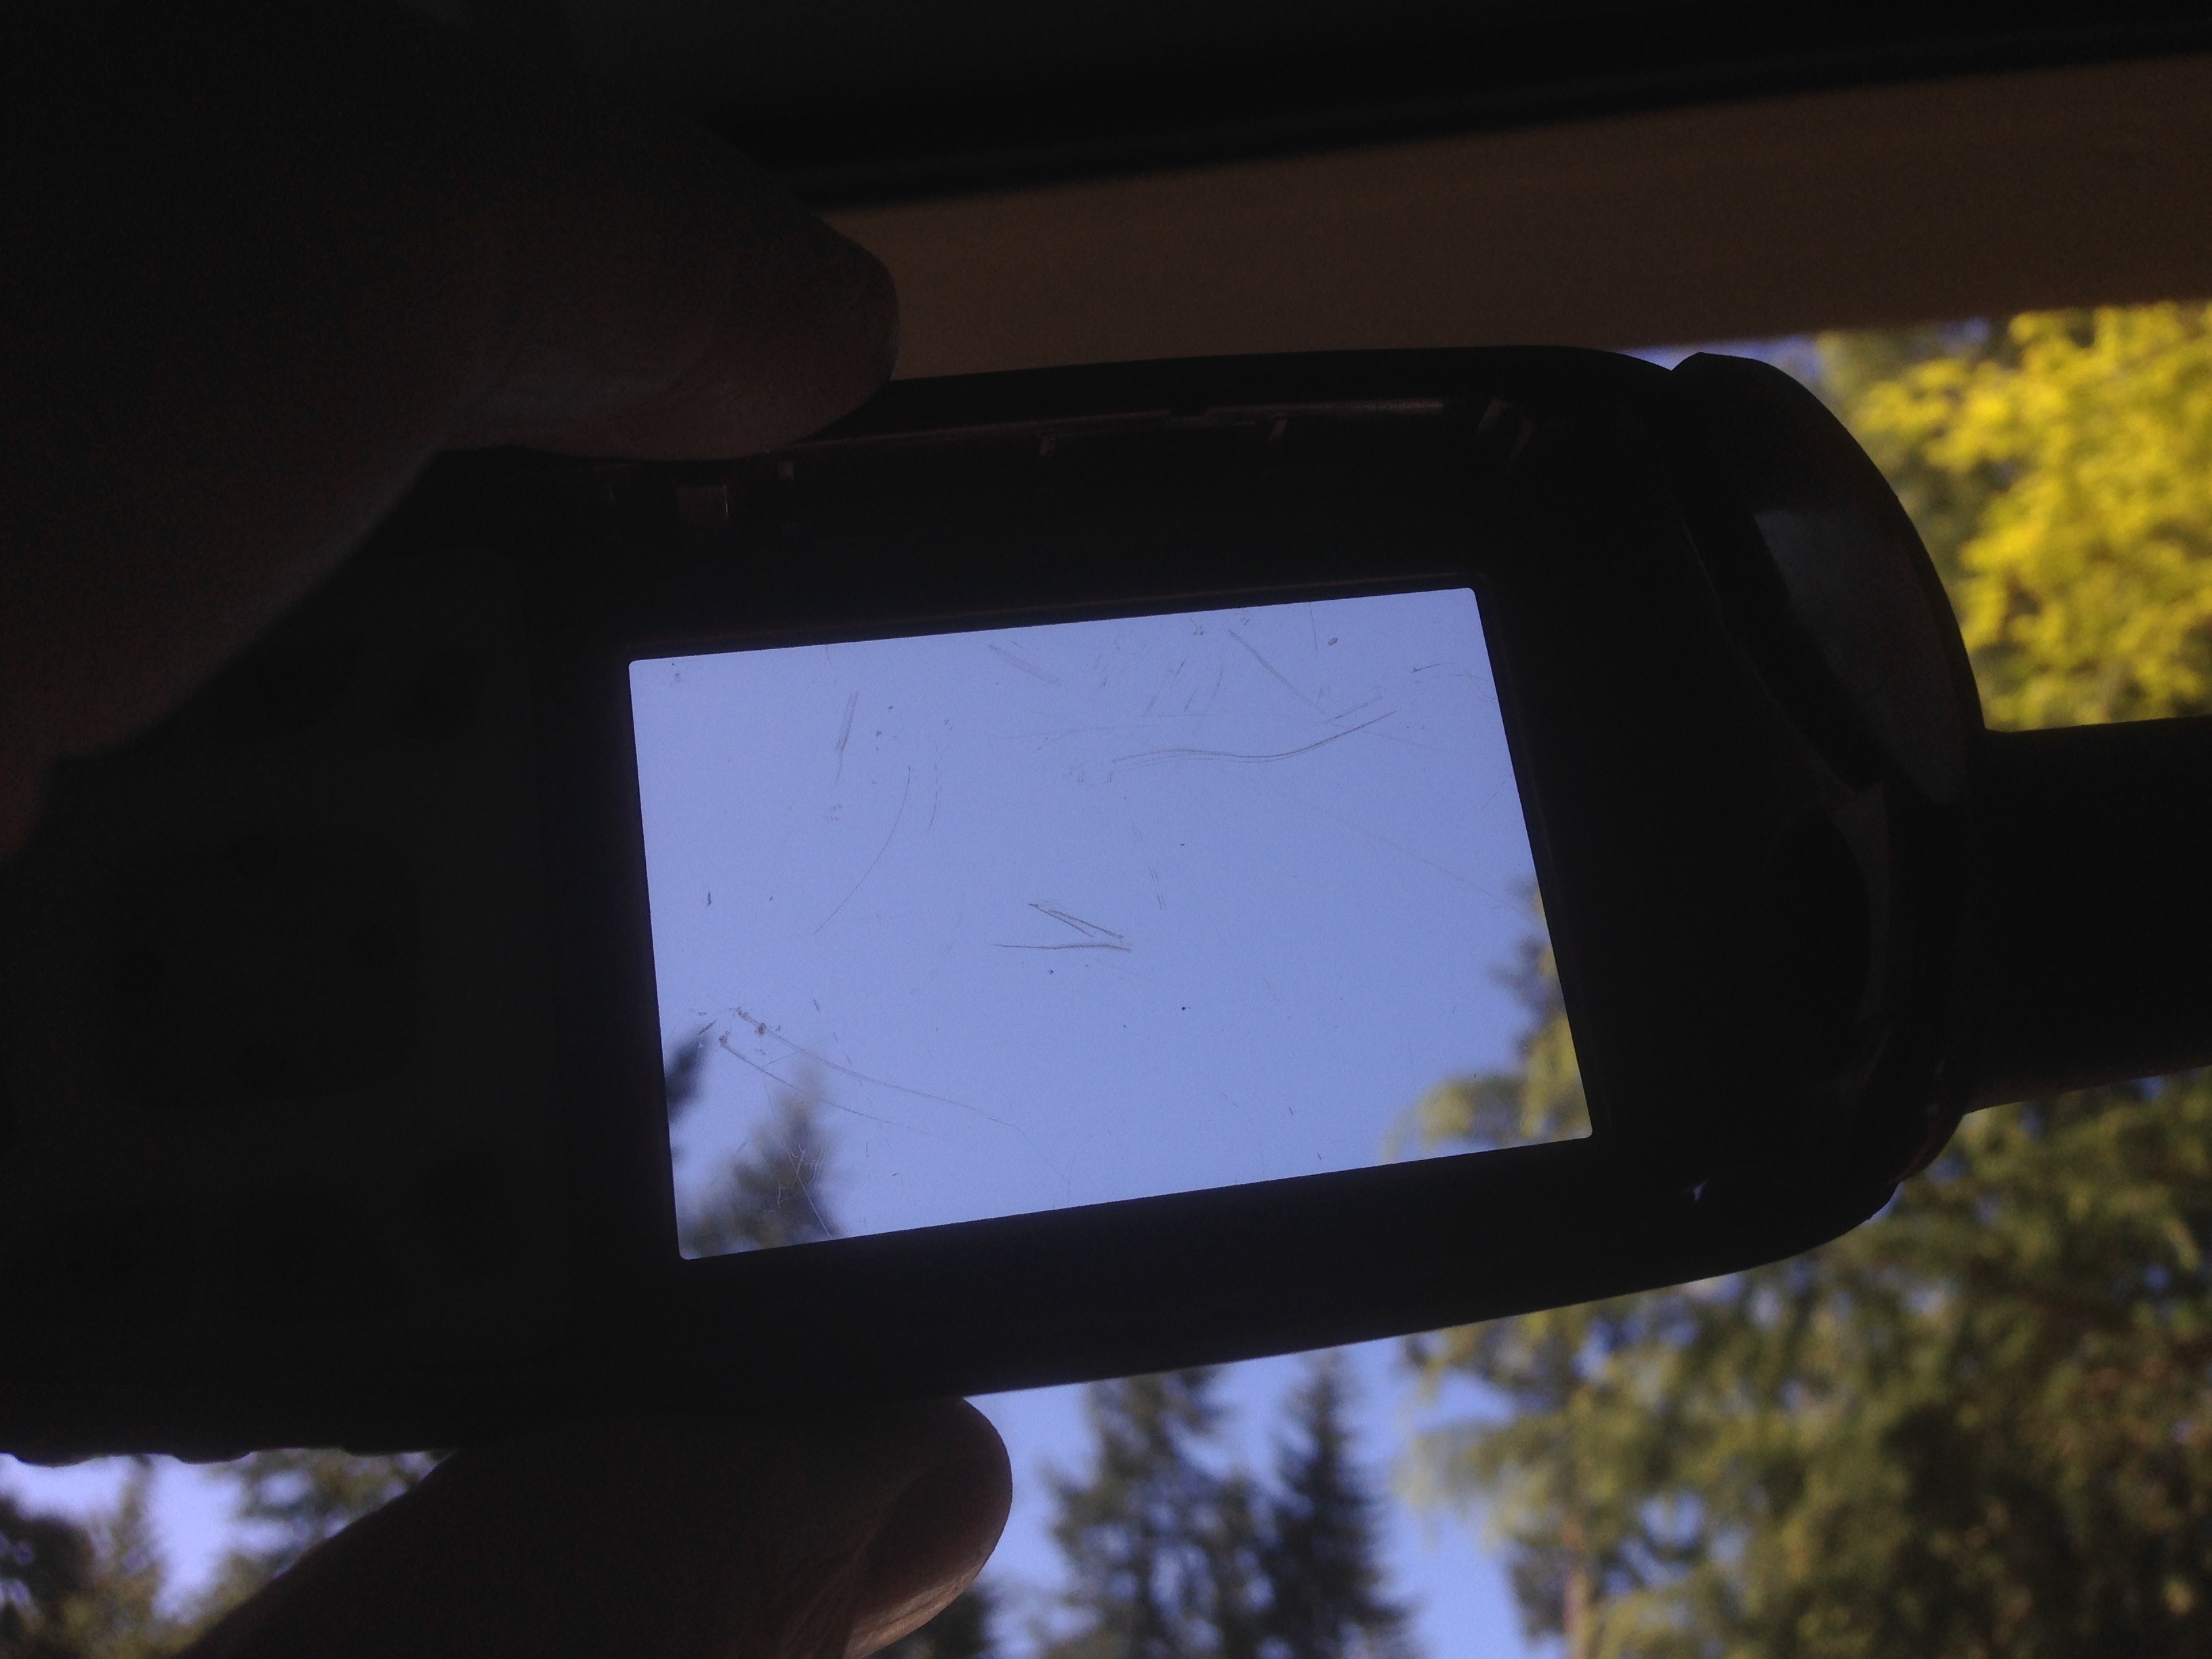
A year+ of hiking has wrought havoc on the screen of my Garmin GPSMAP 64 screen in the form of numerous scratches from the unit rolling 70 feet down Rattlesnake Ridge viewpoint (when the carabiner prematurely unclicked) and rubbing up against several rock faces as I scooted along a narrow ledge to get to some insane geocache. By last week, it was seriously hard to read:
Garmin offers an out-of-warranty repair for $99 (and three weeks), but since this is largely external damage, I looked into options for replacement glass. The only one I’ve found was some dude in the Russian Federation offering one for $32 and six weeks. Before I tried that, I considered some other options:
Toothpaste – this made no difference, but my GPS briefly had a minty-fresh smell to it.
Brasso – This removed the minty-fresh smell and replaced it with a petroleum distillate smell. The screen seemed slightly shinier, but the scratches continued to mock me.
Headlight restoration kit – for about $12 (Amazon Gold Box), the kits include a spindly thing that fit in a drill, three grades of sandpaper and some polish. This worked better.
Step 1: Disassemble the GPS. There are six 1.3mm Torx screws on the back.
Step 2: Gently pry the two sections apart a tiny bit. The screen and antenna assembly (bottom) are just sitting on the case. You’ll need to pry up the bottom, then slide it to the right so the antenna comes out of its shell. You can then leave everything else connected to the “bottom” of the case.
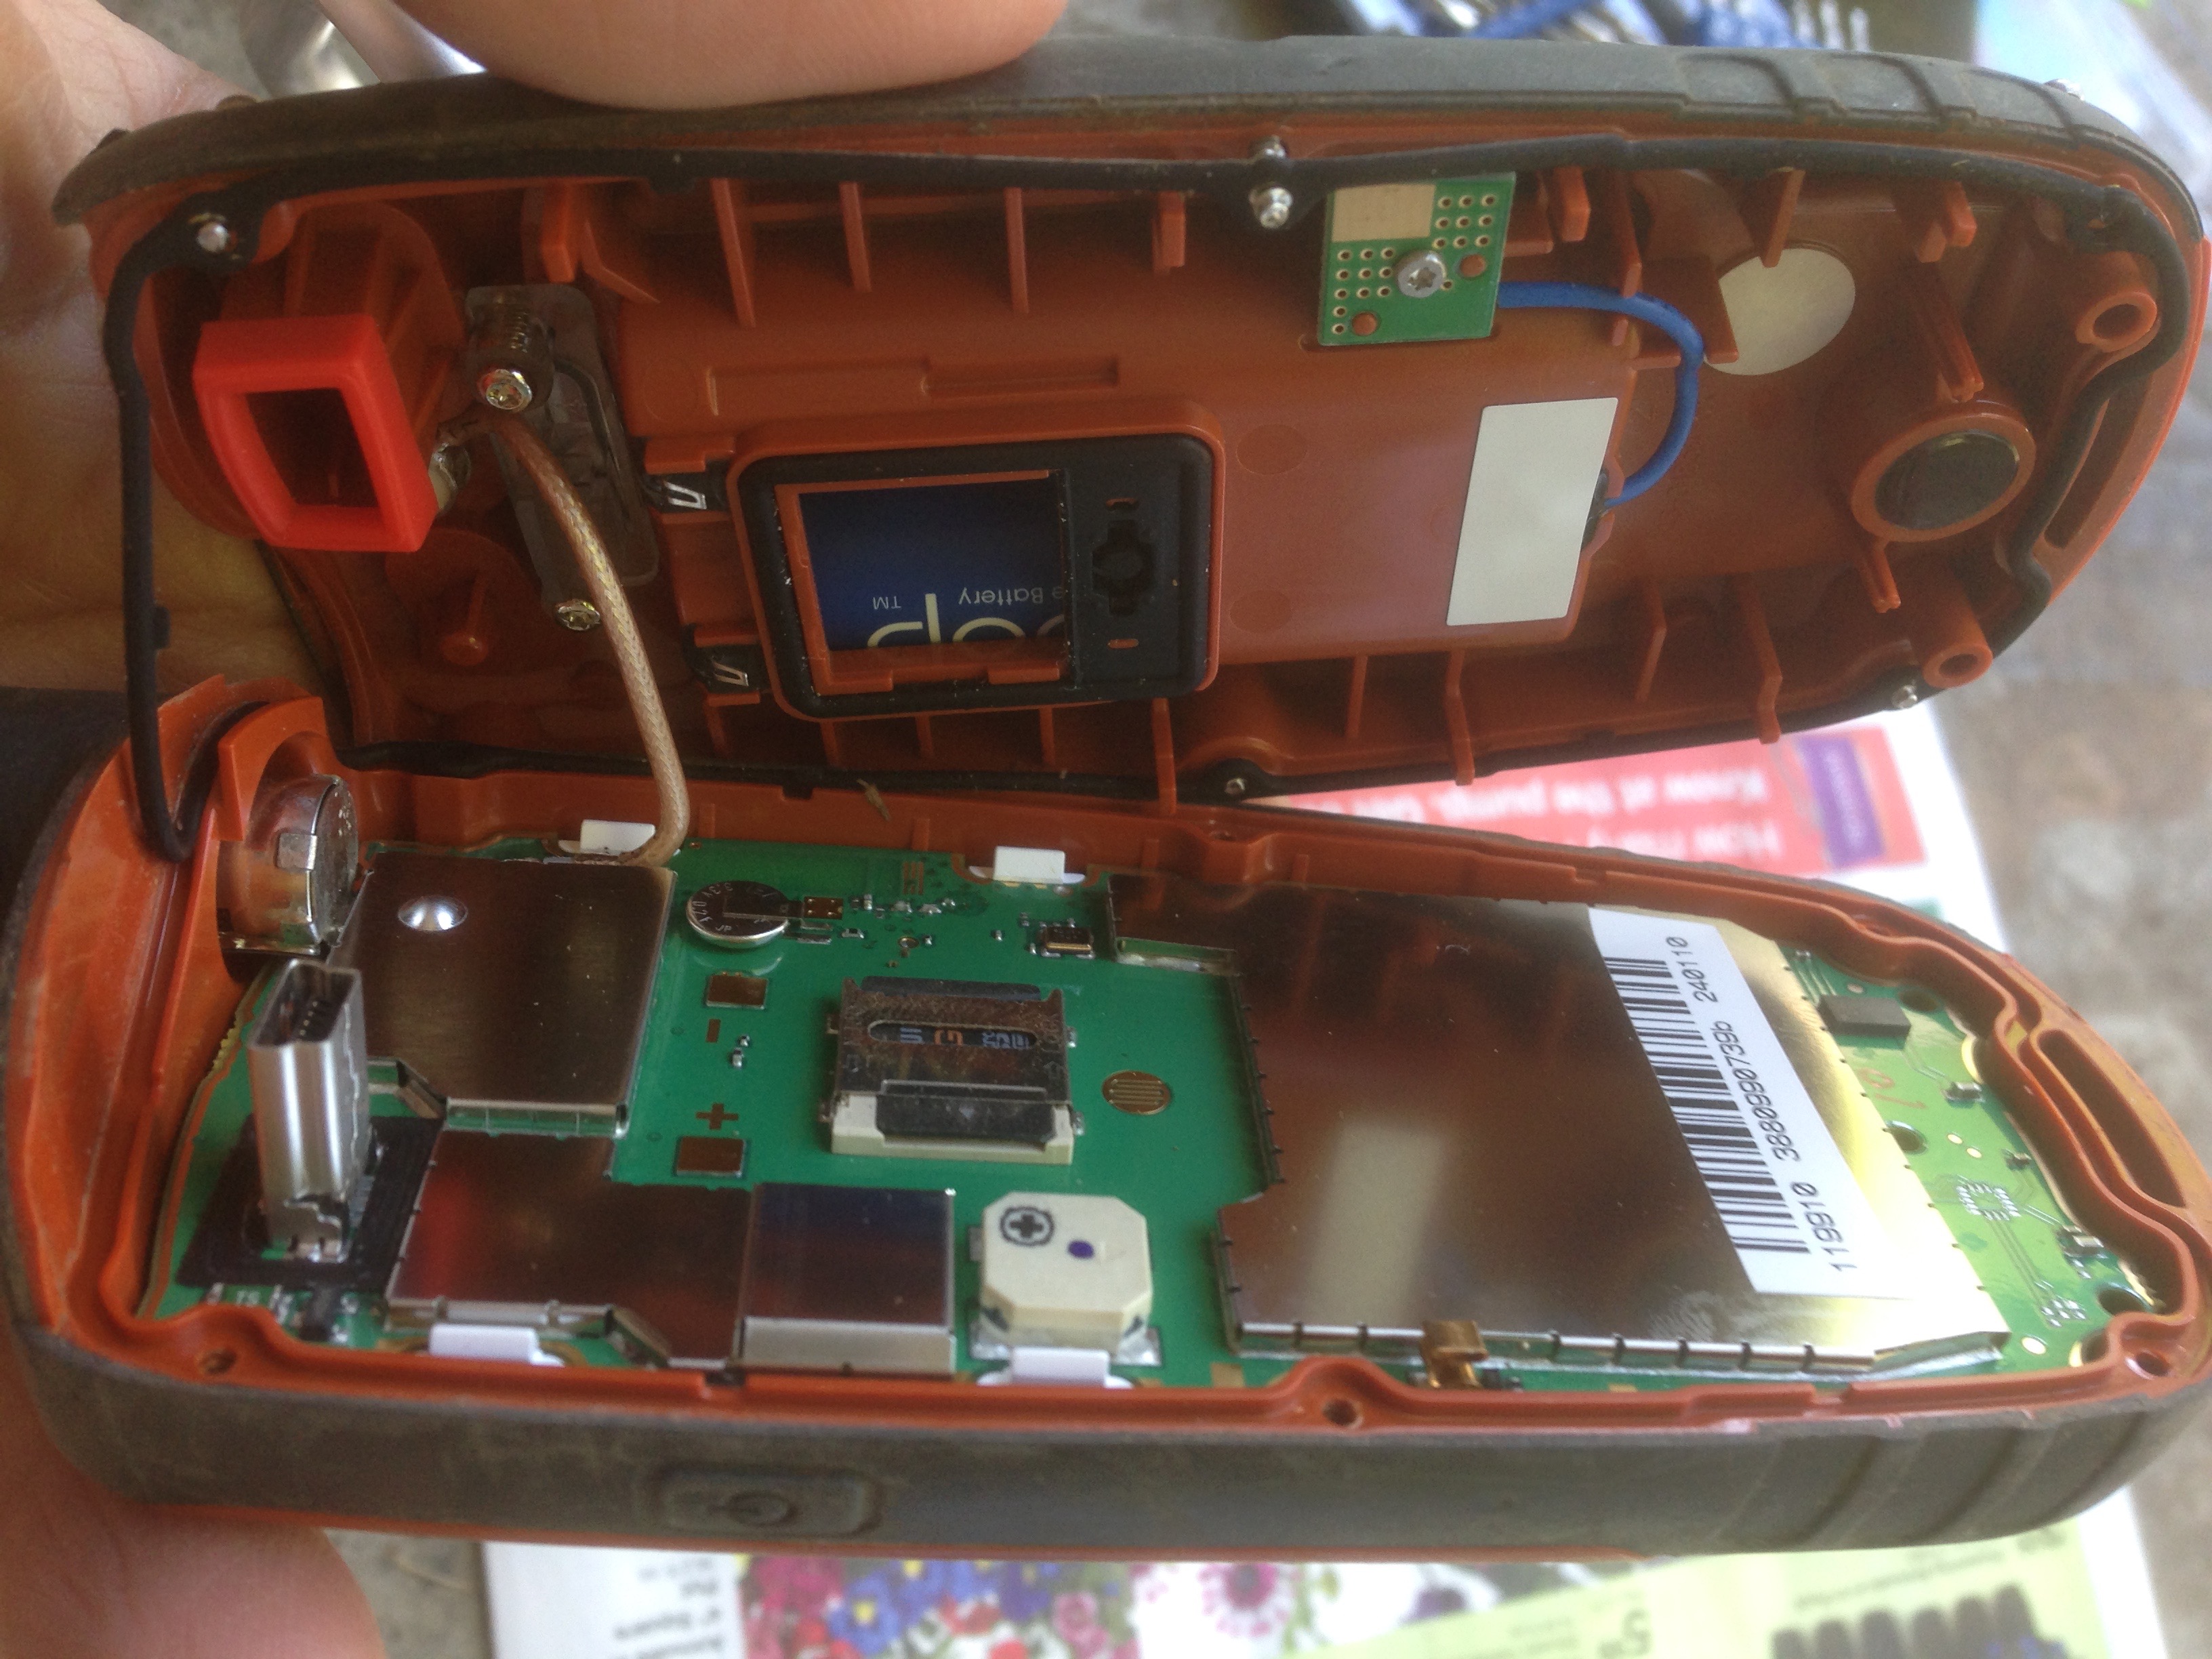
The combination will look like this:
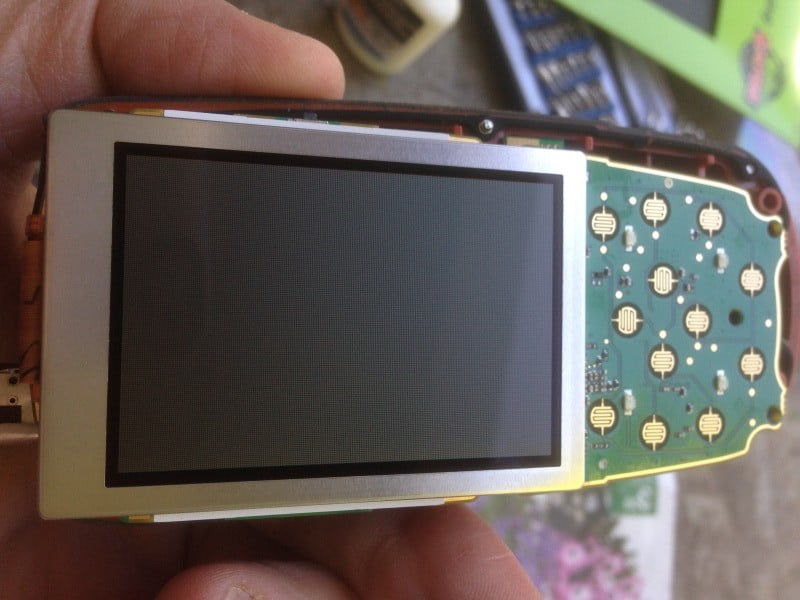
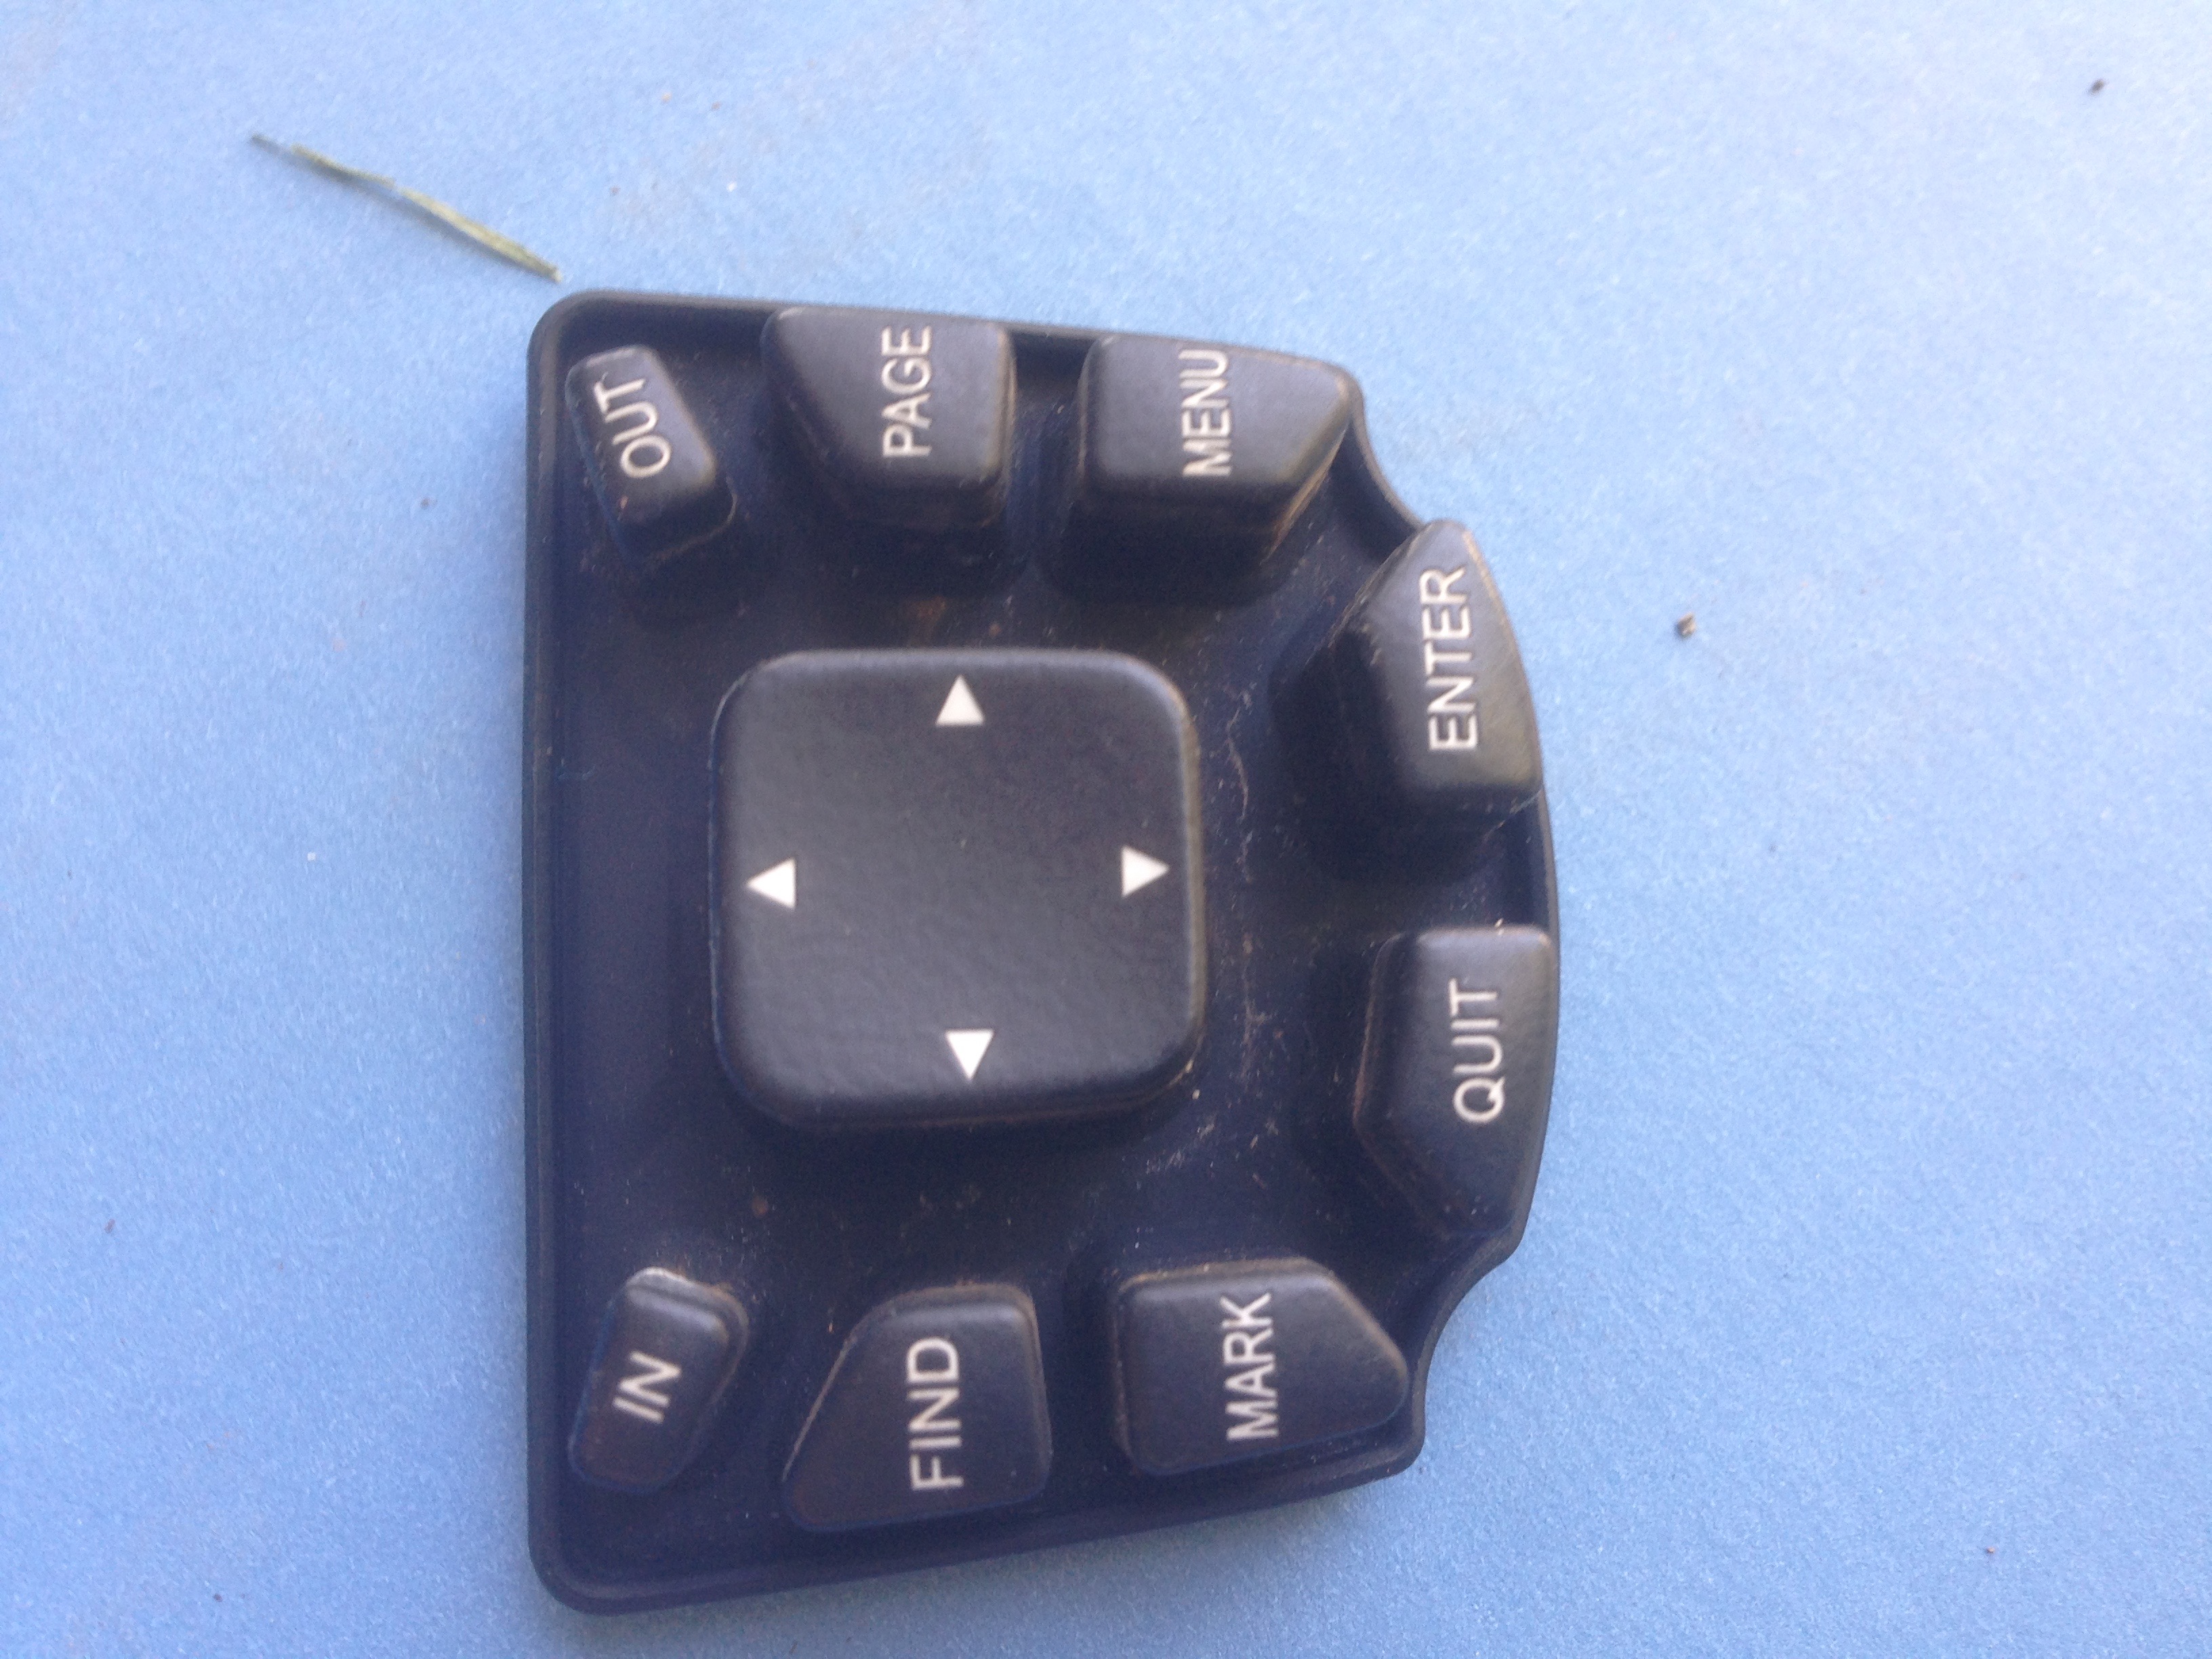
Put this part in a dry place. Now with the plastic shell, push the keyboard membrane until the whole thing pops out:
There are a lot of scratches on this screen!
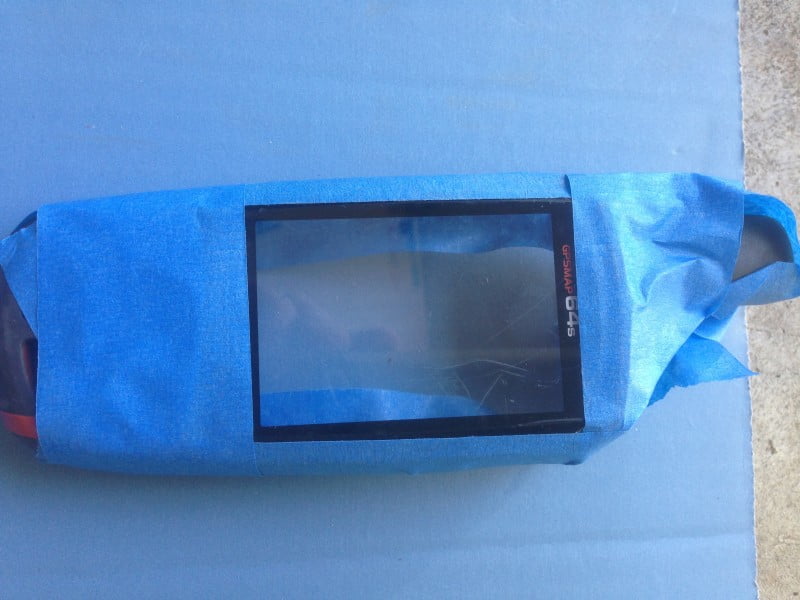
Since I was going off the headlight kit directions, I taped off the other plastic bits of the case. In retrospect, I don’t think this was particularly necessary since the screen juts out just a little bit higher.
Step 3: To the extent you can, clamp the GPS body to something that’s going to hold it firm, because you’ll want both hands to control the spinney motion of the drill.
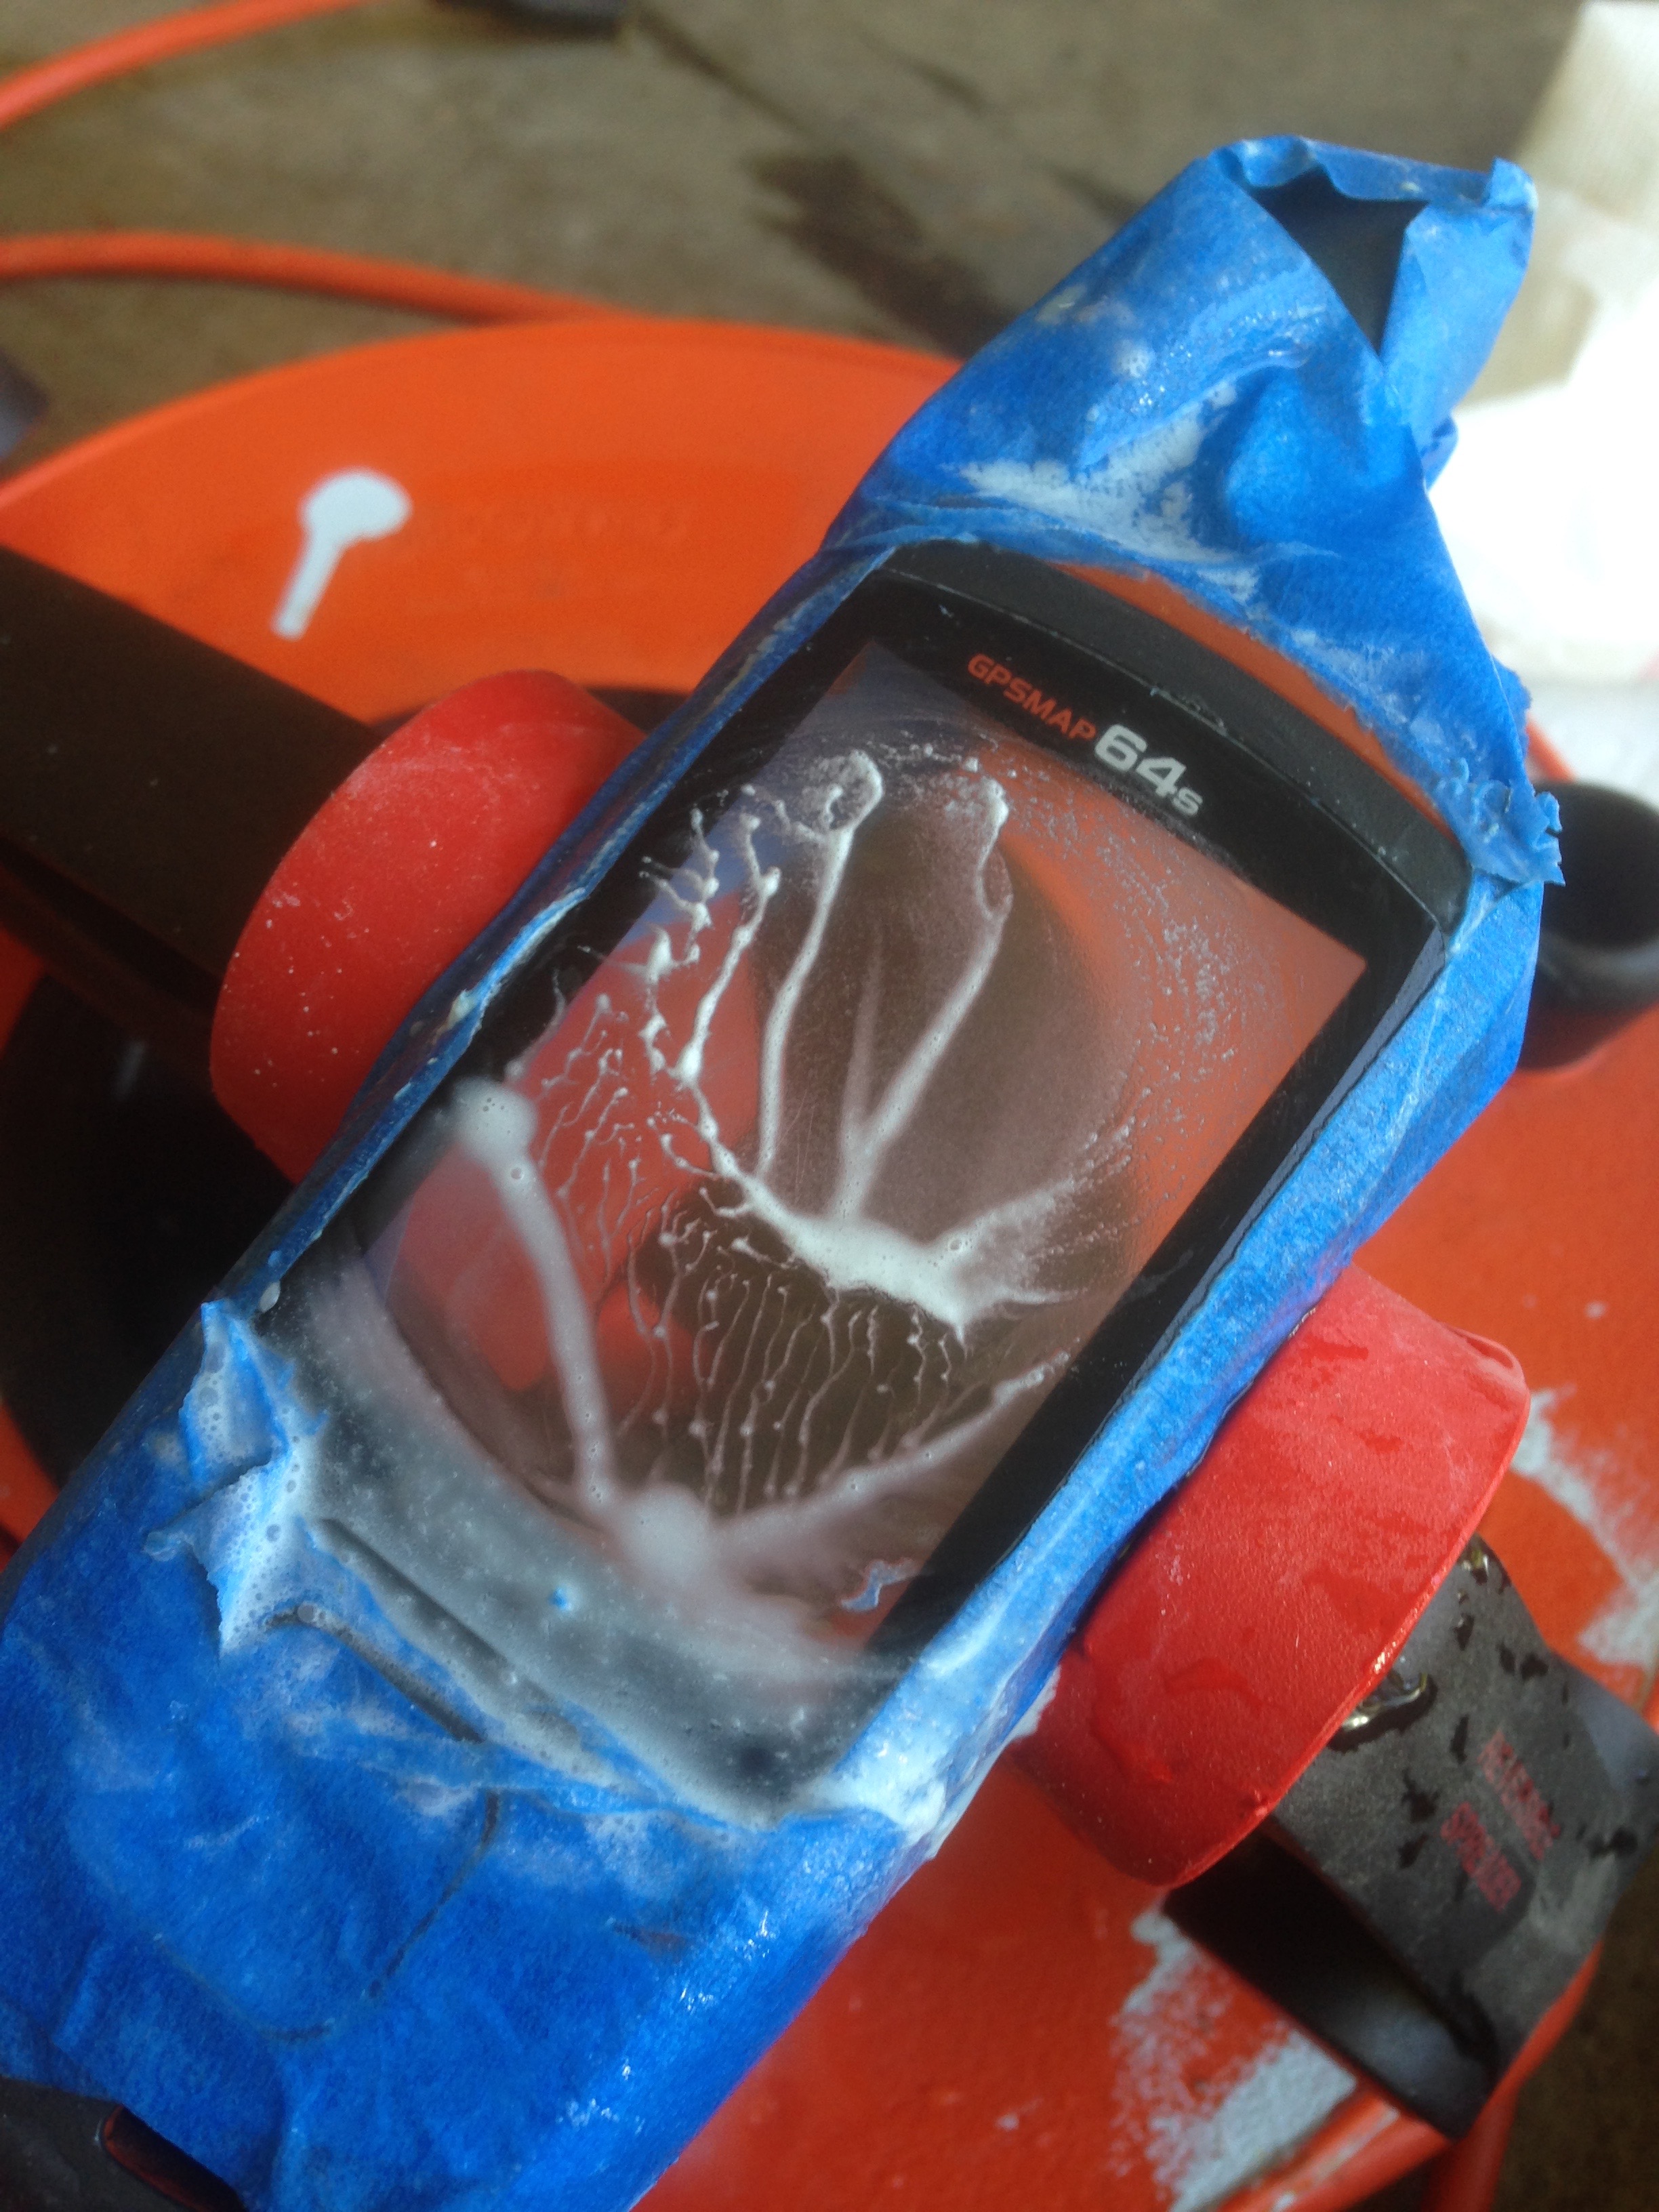
Step 4: Dab some water on the pad/GPS. Using the 800 grit sandpaper (the coarsest), sand the screen. You’re going to feel bad about doing this, but it’ll get prettier.
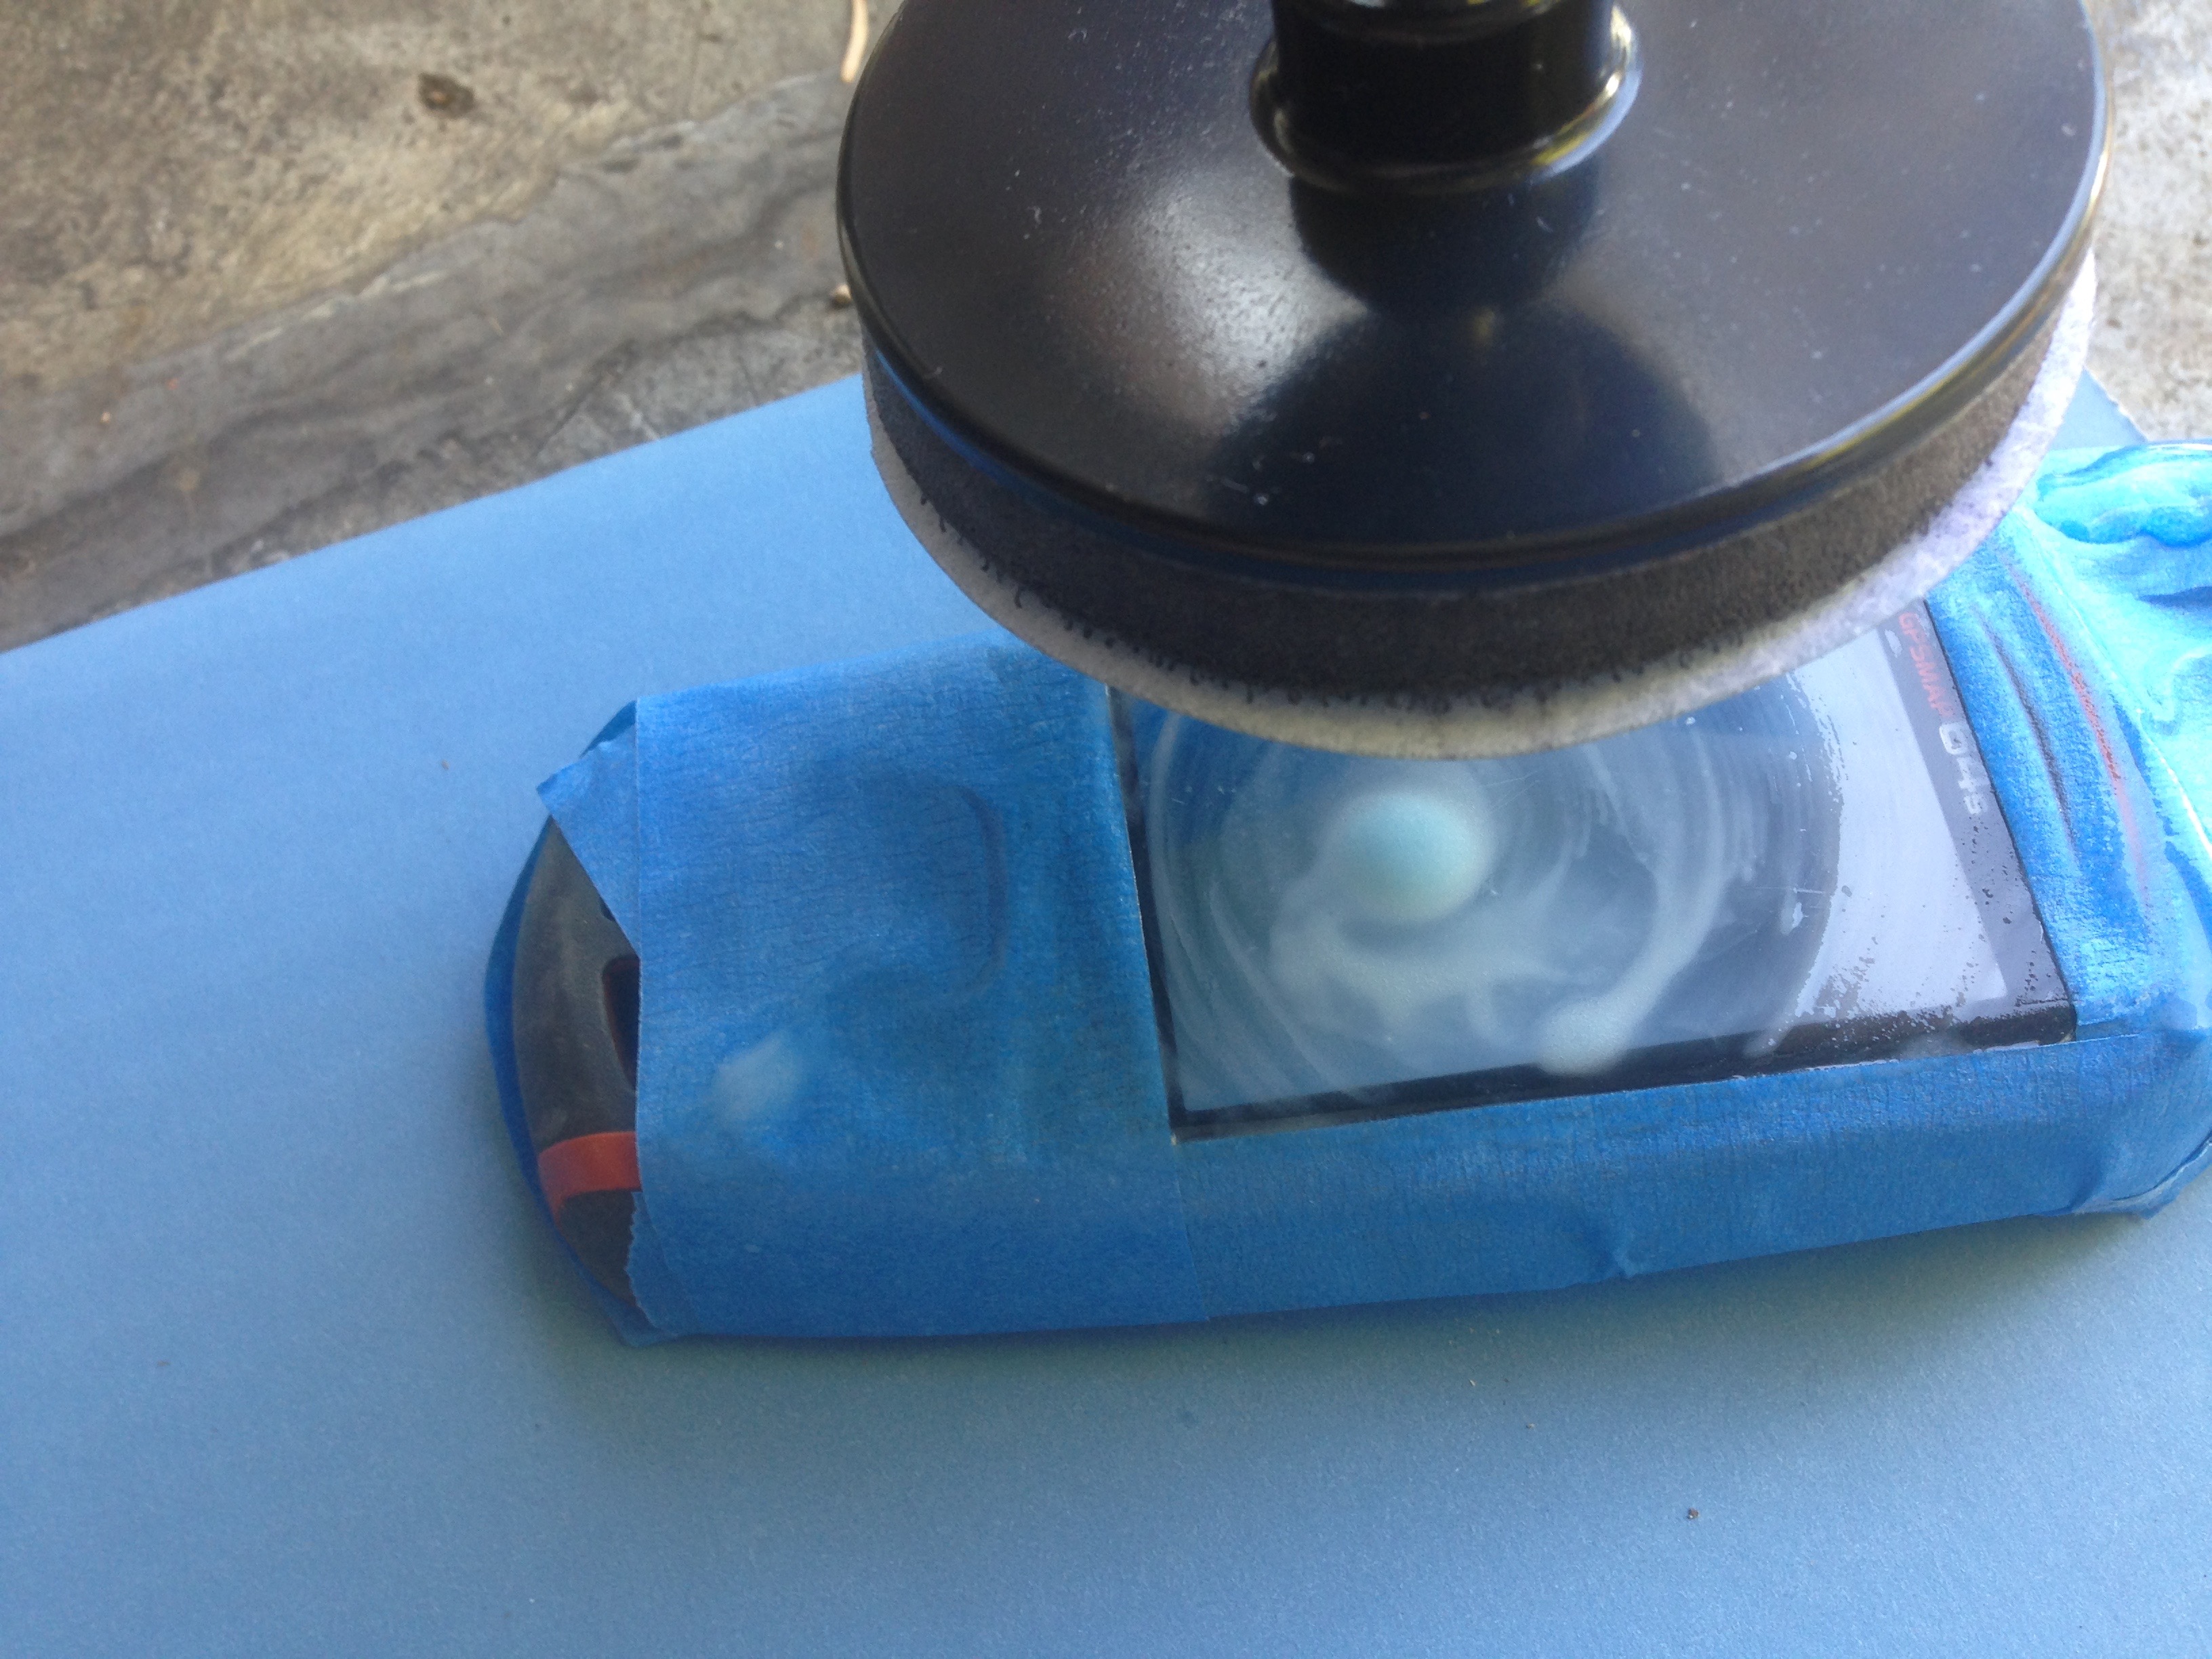
As you sand, the screen is going to get a little goopy. That’s okay. Just keep adding water occasionally and sanding as evenly as you can.
Step 5: Switch out the 800 grit sandpaper for the 1500 grit sandpaper. On the Goldilocks scale, this is “mama sandpaper,” not as gritty as the 800. Repeat keeping things wet and sanding as evenly as you can.
This was the stage where I decided the masking tape probably wasn’t necessary, because guess what gets gradually sanded off?
Step 6: Rinse everything off and inspect. The glass may be a little hazy. If you see signs of the original scratches, repeat the two previous sanding steps again.
Step 7: Rinse everything off and swap the 1500 grit for the 2000 grit pad. Repeat. The more time you spend using 2000 grit, the better the results will be.
Step 8: Dry the screen well. The headlight kit came with some goo that you dab onto the cloth pad and use to polish the screen. You’ll want to keep it moist. Also plan to spend a lot of time on this step.
Step 9: Rinse and inspect. If everything looks great, remove the tape, clean both sides of the screen with Windex and reassemble the GPS. If the screen isn’t clear, you will want to polish it some more.
Step 10: Dry and clean. Assemble the GPS and test.

What can go wrong:
- You still have scratches: start the sanding process over with the 800 grit paper.
- Screen is hazy: Try polishing more with the 2000 grit. If that’s not doing it, back down to 1500 a little bit, then go back to 2000. Again, the super fine 2000 grit should make it look beautiful.
- There is a round spot in the middle: This can be caused by uneven pressure applied by the drill spinner thingie. Your options are to either live with it — which is fine if it’s subtle — or get a block sander, the 800 grit and try to smooth it out.
- The case doesn’t go back together: It’s hard to see in the photos, but there is a rubber gasket that goes around the perimeter of the case. Remove the six Torx screws, gently open the case, and reseat the gasket into the detente.
>The headlight kit came with some goo that you dab onto the sandpaper and use to polish the screen
This wasn’t working. I need to reaply 1500, then dab that goo on cotton (not on sandpaper), and polish the screen
You’re correct. I updated the text.
Jim – I am blown away at how well this works!! I run a small fire module for the NPS and do a lot of GPS work in the backcountry. Naturally our gear gets pretty trashed. This trick to save/ repair gps screens is really pretty simple and effective. Well done posting this!
Hi Jim,
thanks a lot for your support. With the help of your pictures I managed to disassemble my gpsmap64 st. I tried the “dude in the Russian Federation” and was glad to receive the new front cover within 16 days. It might have taken shorter because I live in Germany. The replacement was no problem due to your tutorial.
If I managed to destroy the cover once more, I would follow your instructions and repair the old screen.
Greetings from the Black Forest
Mike