During one of my CW classes, a couple of my students were waxing on about the fun they had in assembling a QRP Labs QCX+ radio kit. They invited me to participate in the fun. Although I’ve done small kits in the past, this was much more ambitious. I was leery what paltry soldering skills I had were long since vanished. But, eventually, FOMO prevailed and I purchased a kit online.
A month later, a densely-packed box of components arrived from Turkiye. Class ended. The kit was put on the shelf. My daughter moved back in, leaving me nowhere to spread out to assemble the kit. I forgot about the box until doing a deep clean on my ham shack. Finally, nearly four years after the purchase, I had space, time and motivation to undertake it.
 Resistance (and variable capacitors) applied.
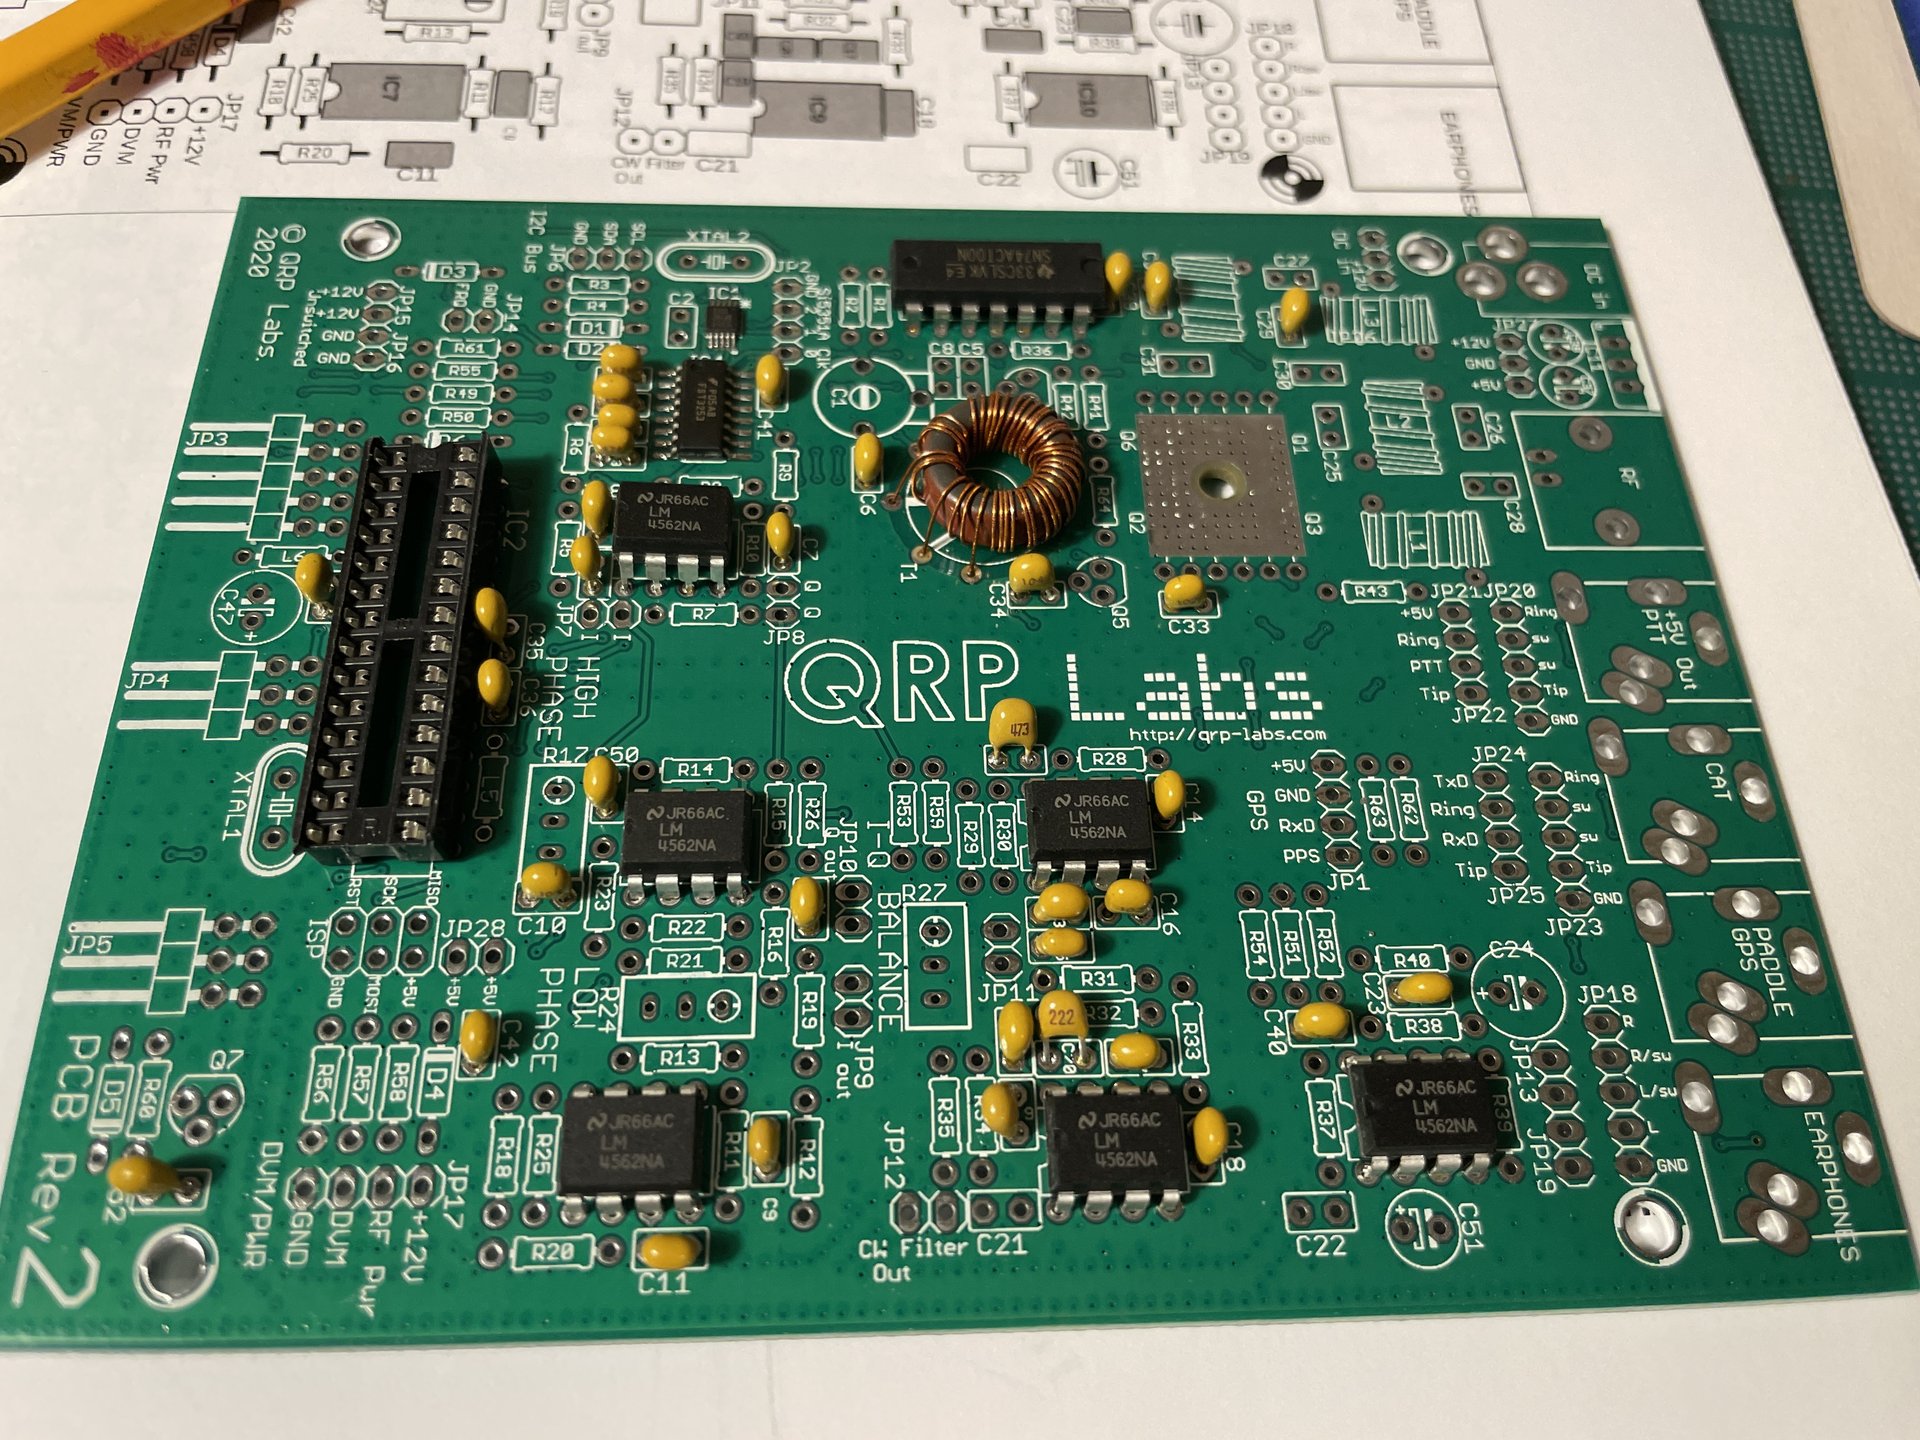
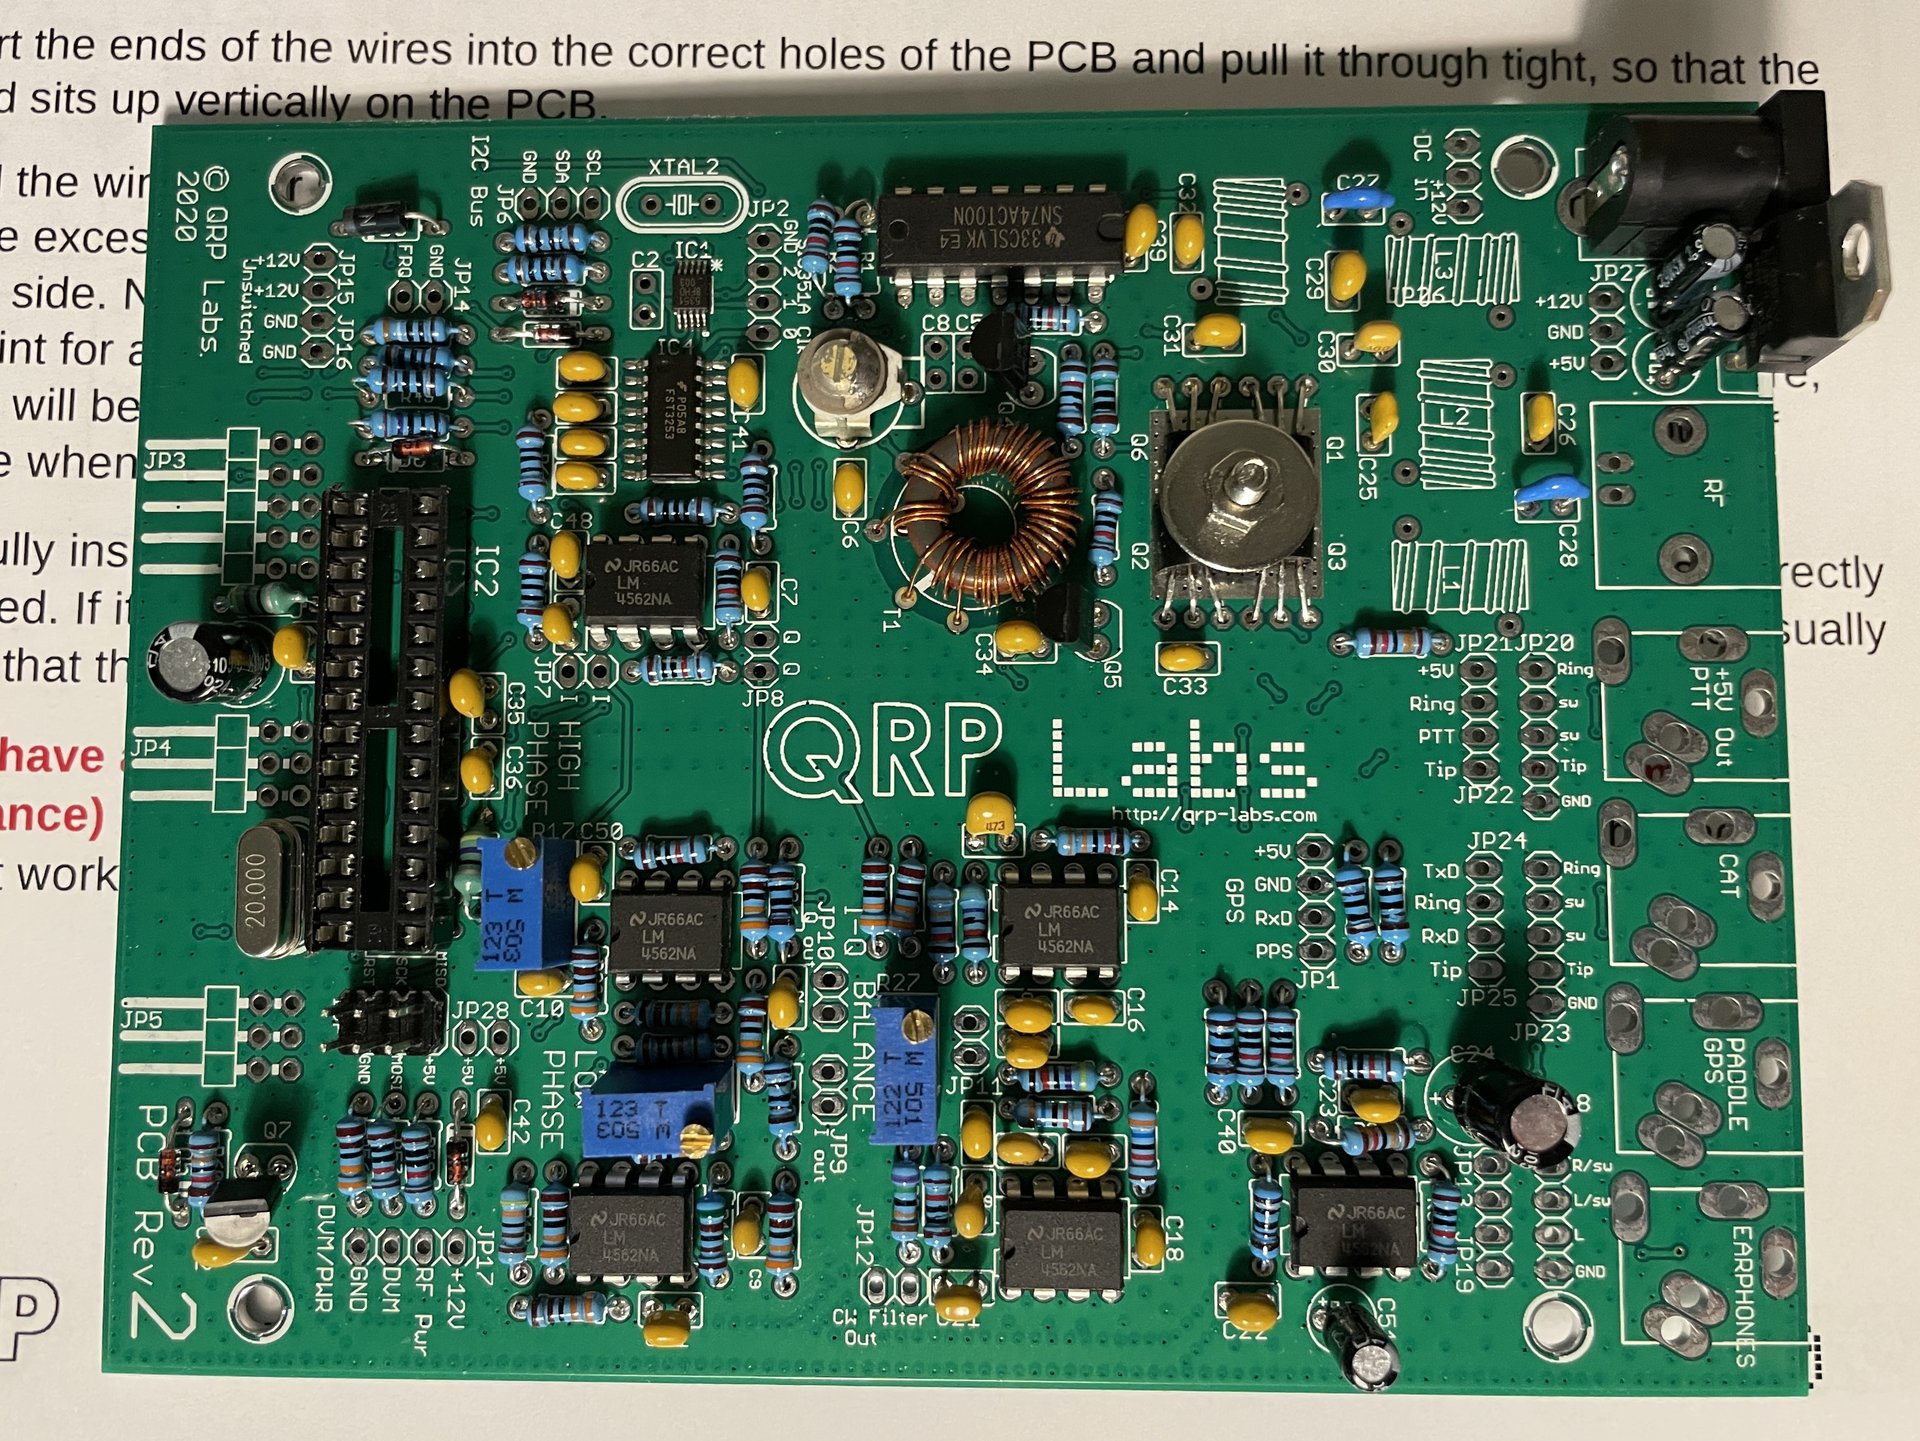
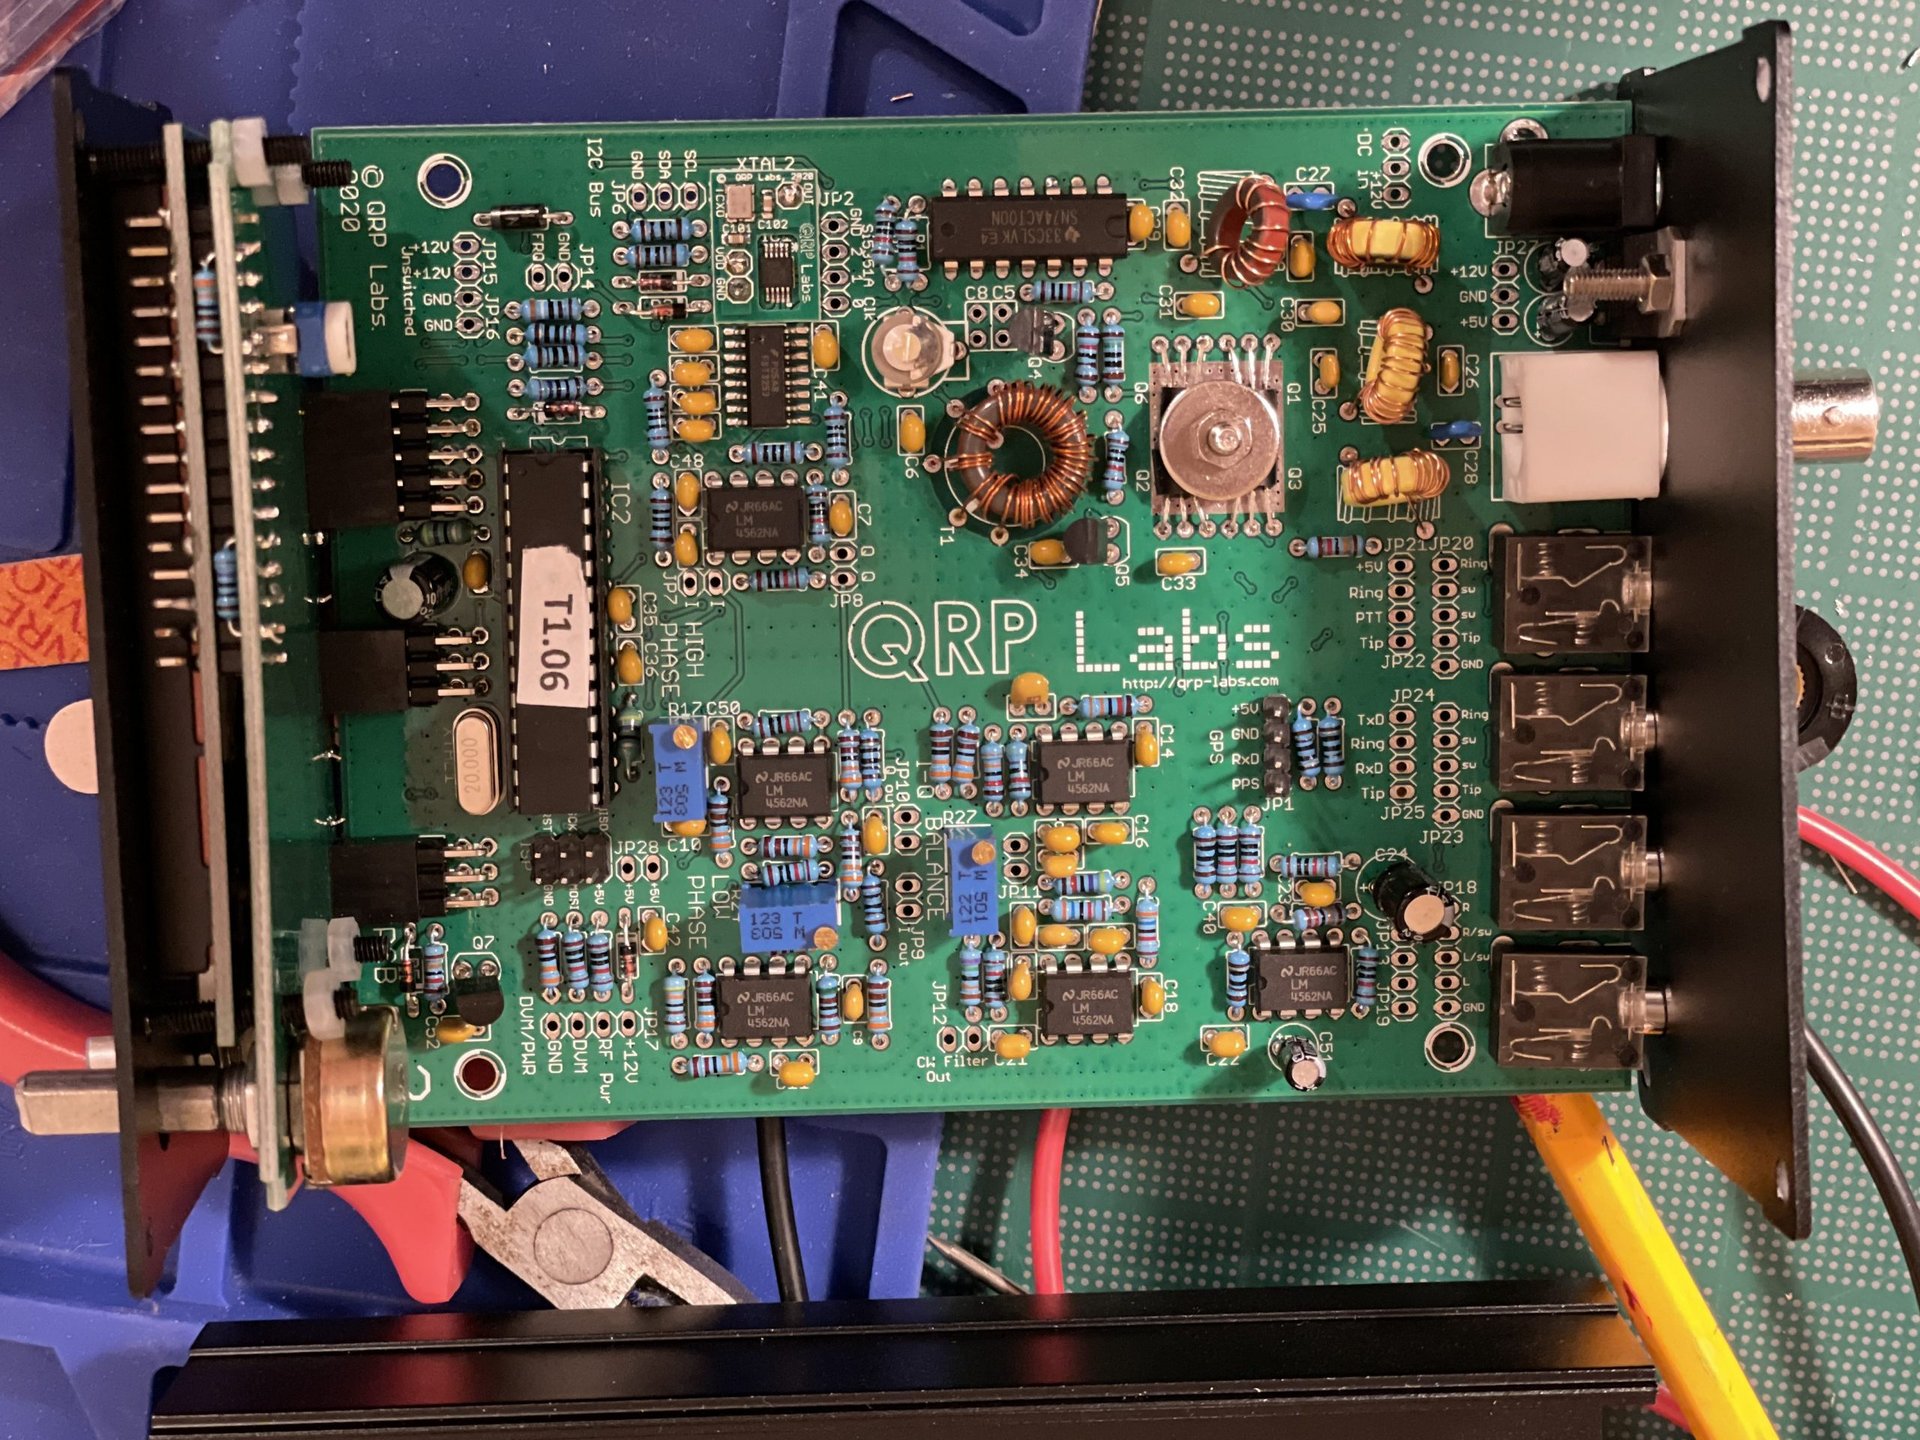
I spent several hours Sunday assembling the bulk of the board, and calibrated everything Monday evening after work. The project was largely successful.
What went well:
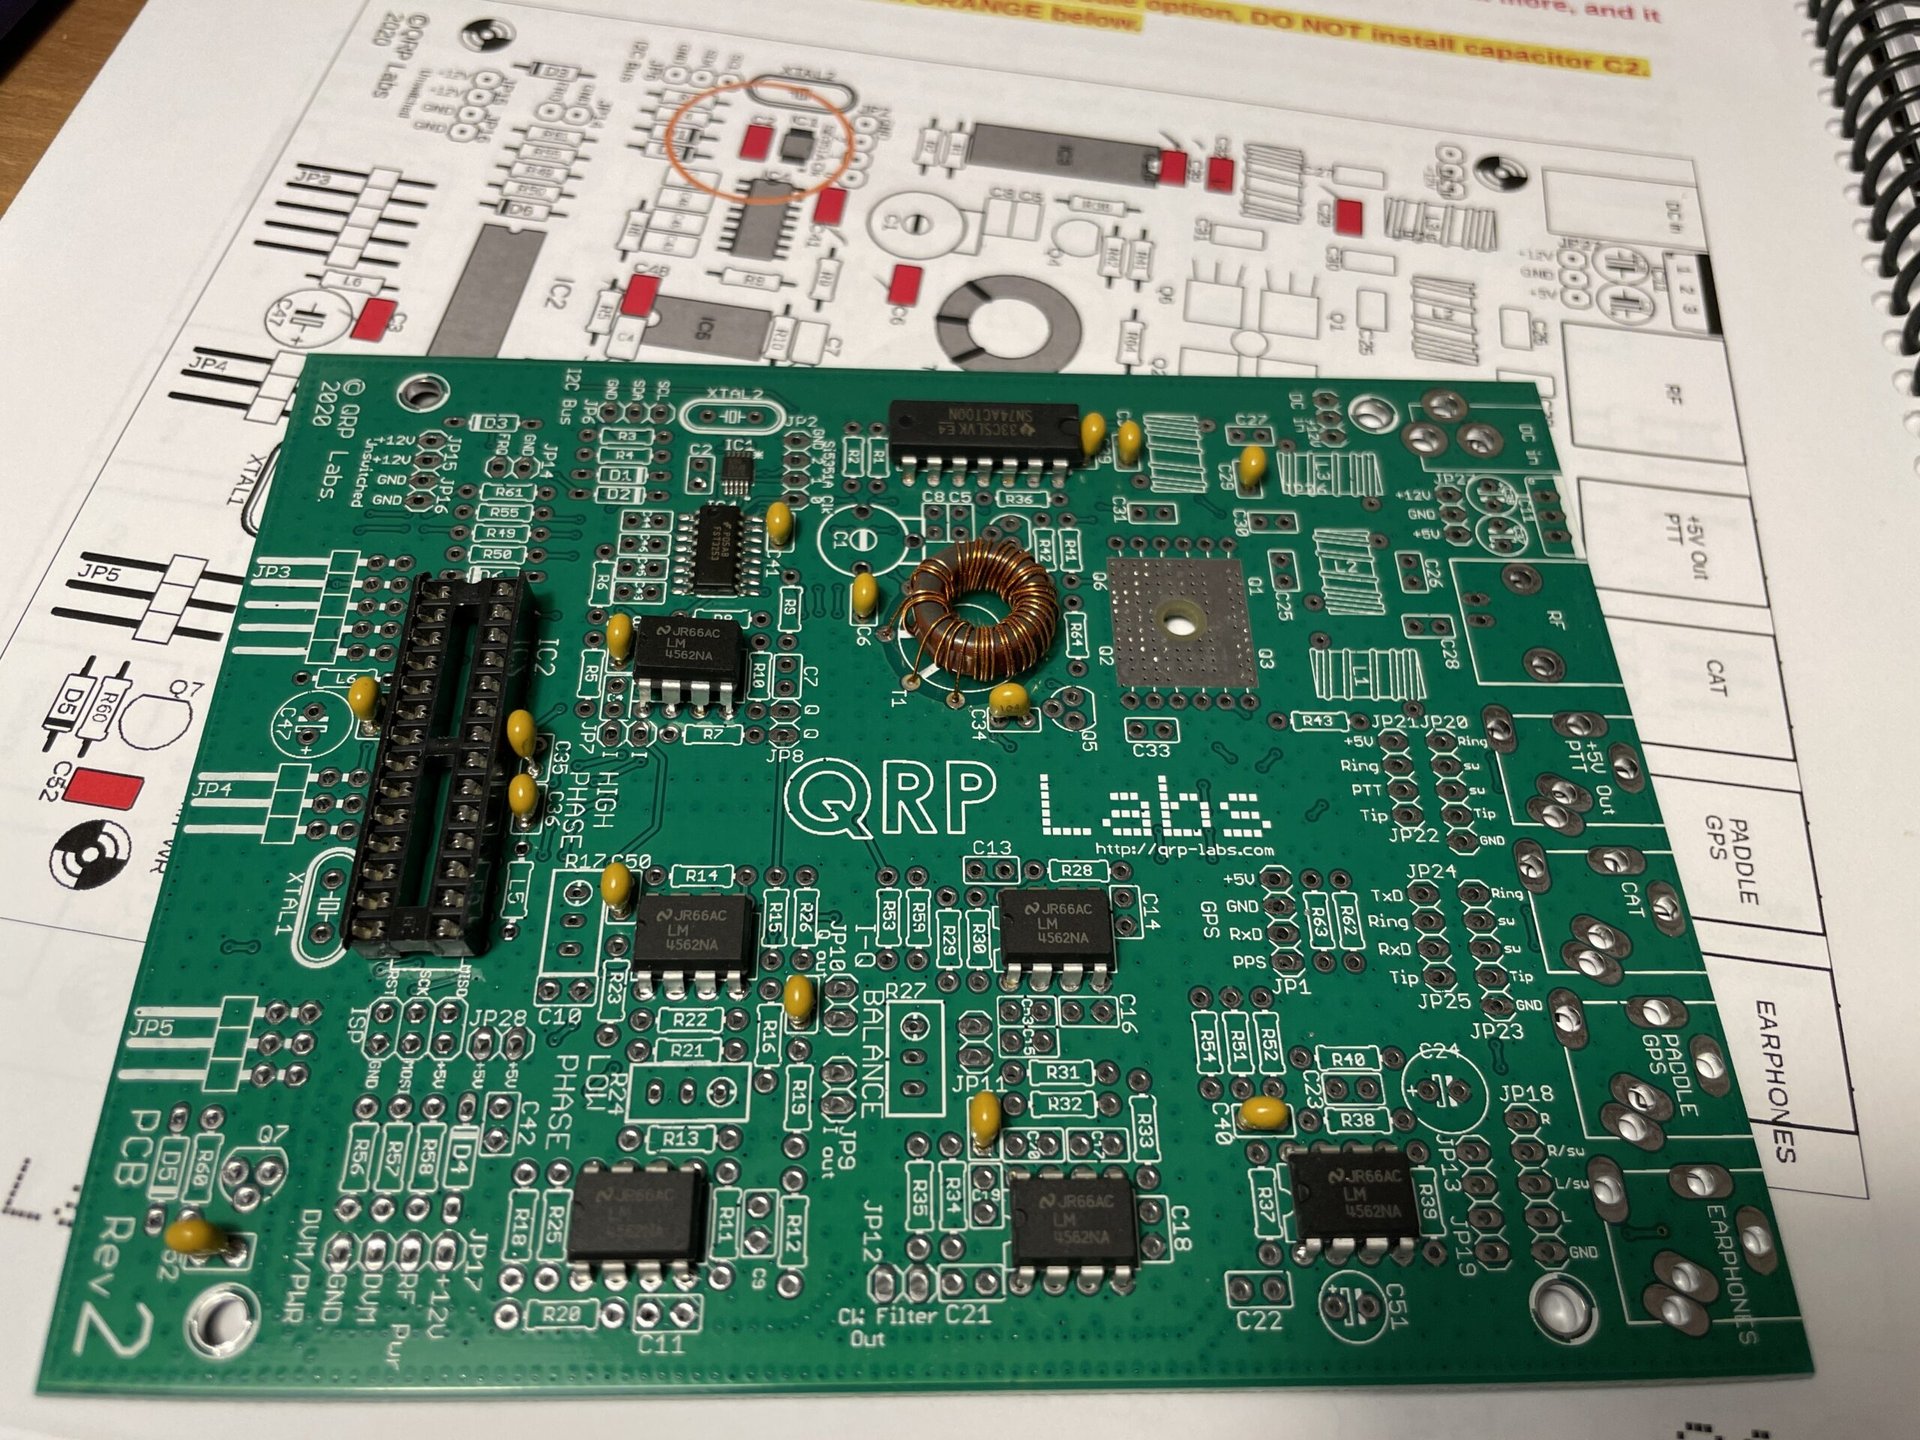
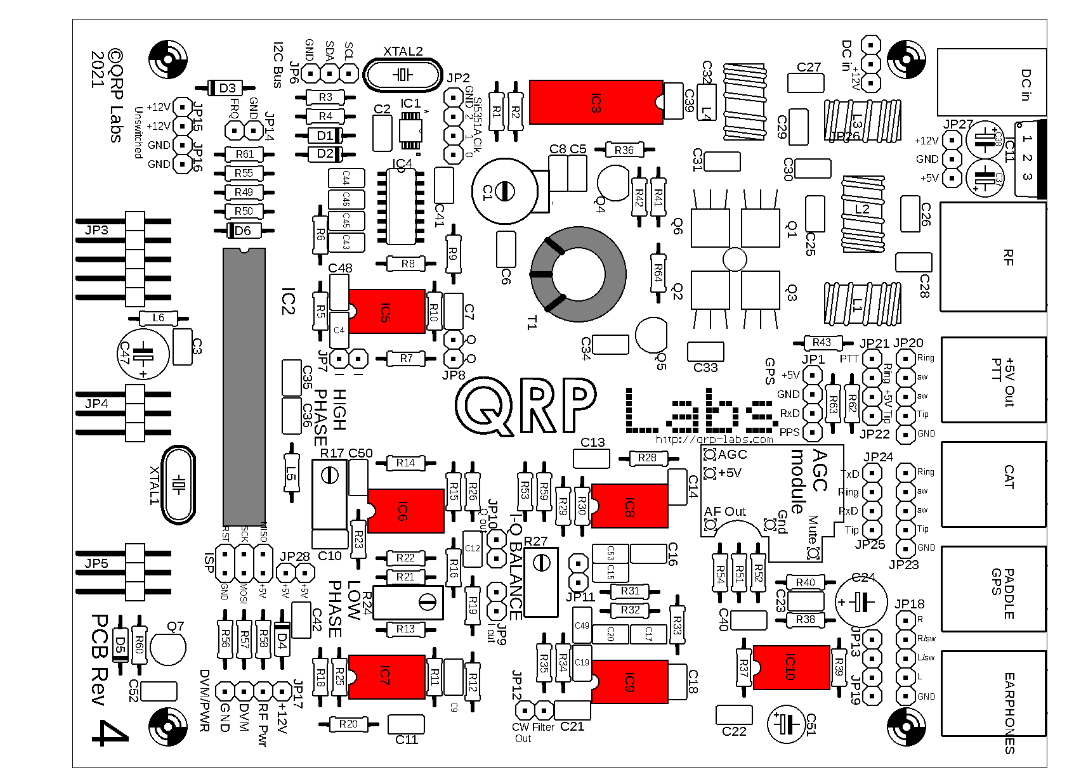 Sample manual page. Gray: components already assembled. Red: components to do on this step. (These are all integrated circuit soldering.) Source: QRP Labs QRX+ manual, rev 1.11, page 25.
- Printed the manual in color, binding it in a coil. The instructions are generally excellent and thoughtfully laid out. Having a hard-copy to write on was invaluable for notes and cross-referencing. The manual was especially good for orientation of polarized components (transistors, diodes, electrolytic capacitors, and chips).
- I Invested in a decent soldering station. Being able to see the temperature on the soldering iron was surprisingly helpful. With my Weller, I’d set it to “4” and hope it was warmed up. Complementing the soldering station were simple tools like a solder sucker (generates an intense vacuum to remove melted solder — useful for fixes) and surface-level wire snips (for cutting leads)
- Zoom-in goggles. My near-vision is pretty much shot because of presbyopia (age-induced). I have reading glasses, but they’re not well-suited for extremely intricate work. The flip-over magnifiers were helpful, though at times awkward.
- Appropriate testing after each step. The manual was good about cautioning on tricky steps. For example, when winding toroids, you use magnetic wire, which has an insulating coating. This coating needs to be removed to solder the points. Doing so on a thin wire was challenging, but the sure-fire way to test is with a digital volt meter – simply measure the resistance. If it’s zero, it’s a good connection.
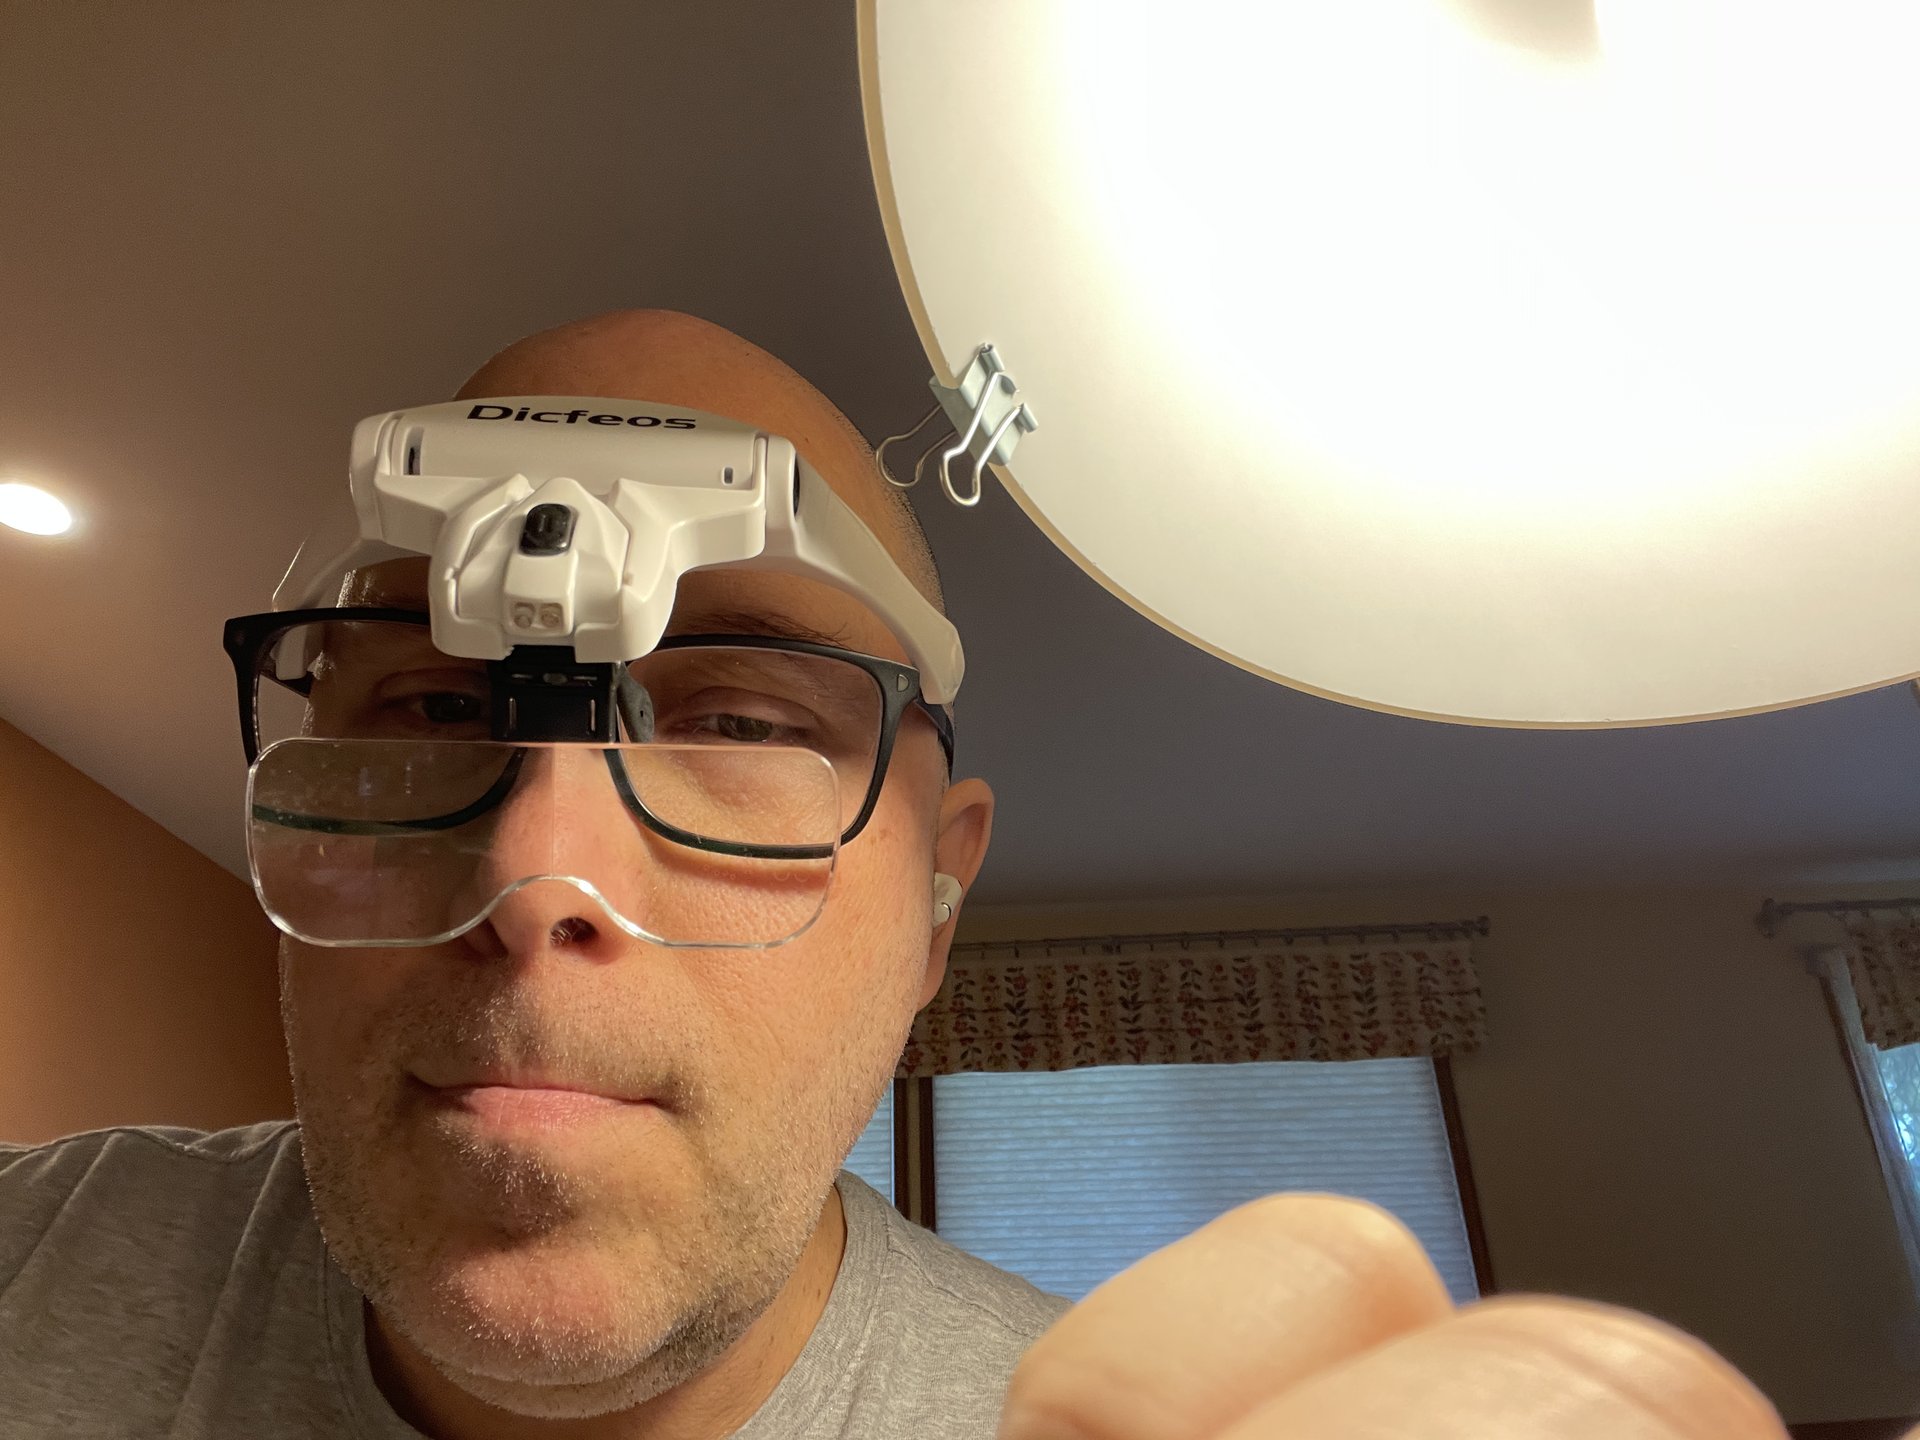 It looks dorky, and it is, but I can finally see the teeny componenst.
What was challenging:
- Winding Toroids is not a strong skill. The fine dexterity required to loop things without twisting a narrow wire – doing that with fat fingers is challenging enough. But the worst part was keeping enough attention span to ensure I had done all the loops. My brain was timing out after 10 loops, so I would have to pause, then group the coils into blocks of 5, count and recount. Eventually it worked out.
- Reading the color labels on resistors is challenging. I just couldn’t see the differences between some of these colors (e.g., brown and black). This wasn’t a problem for the “install 15 of ___” where ___ is on a strip of 15 items. For individual ones, I had to use the DVM to measure and adjust for the tolerance (e.g., a 360K resistor might measure 350K).
- The GPS add-on. While the manual for the base radio is excellent, the GPS section is lacking. For example, the board doesn’t have polarity markings for the electrolytic capacitors or LEDs, so I had to trace the circuit to be sure. Now that I have an assembled board, it does not appear it was ever intended to go inside the case with the rest of the radio. Specifically, there’s no place to mount it.
- Planning for case insertion. There were two components near the edges (power plug, top right; variable resistor, bottom left) whose solder points are large. I would have appreciated a caution that I needed to be careful making them too large lest they would not fit into the case. I redid them later to accomplish this.
Overall, this was a fun kit to assemble. I’m not sure what I will actually do with it, though.