To honor the fifth month since putting down a deposit on a new furnace and A/C add-on, our existing furnace started acting up this weekend by sleeping in. (This is how it should behave.) I, of course, did not notice the house was 61F, but my spouse certainly did.

Having more than casual familiarity with the innards from my Thanksgiving 2016 experience, where the control board itself died, I thought I’d do some diagnostics before calling a professional.
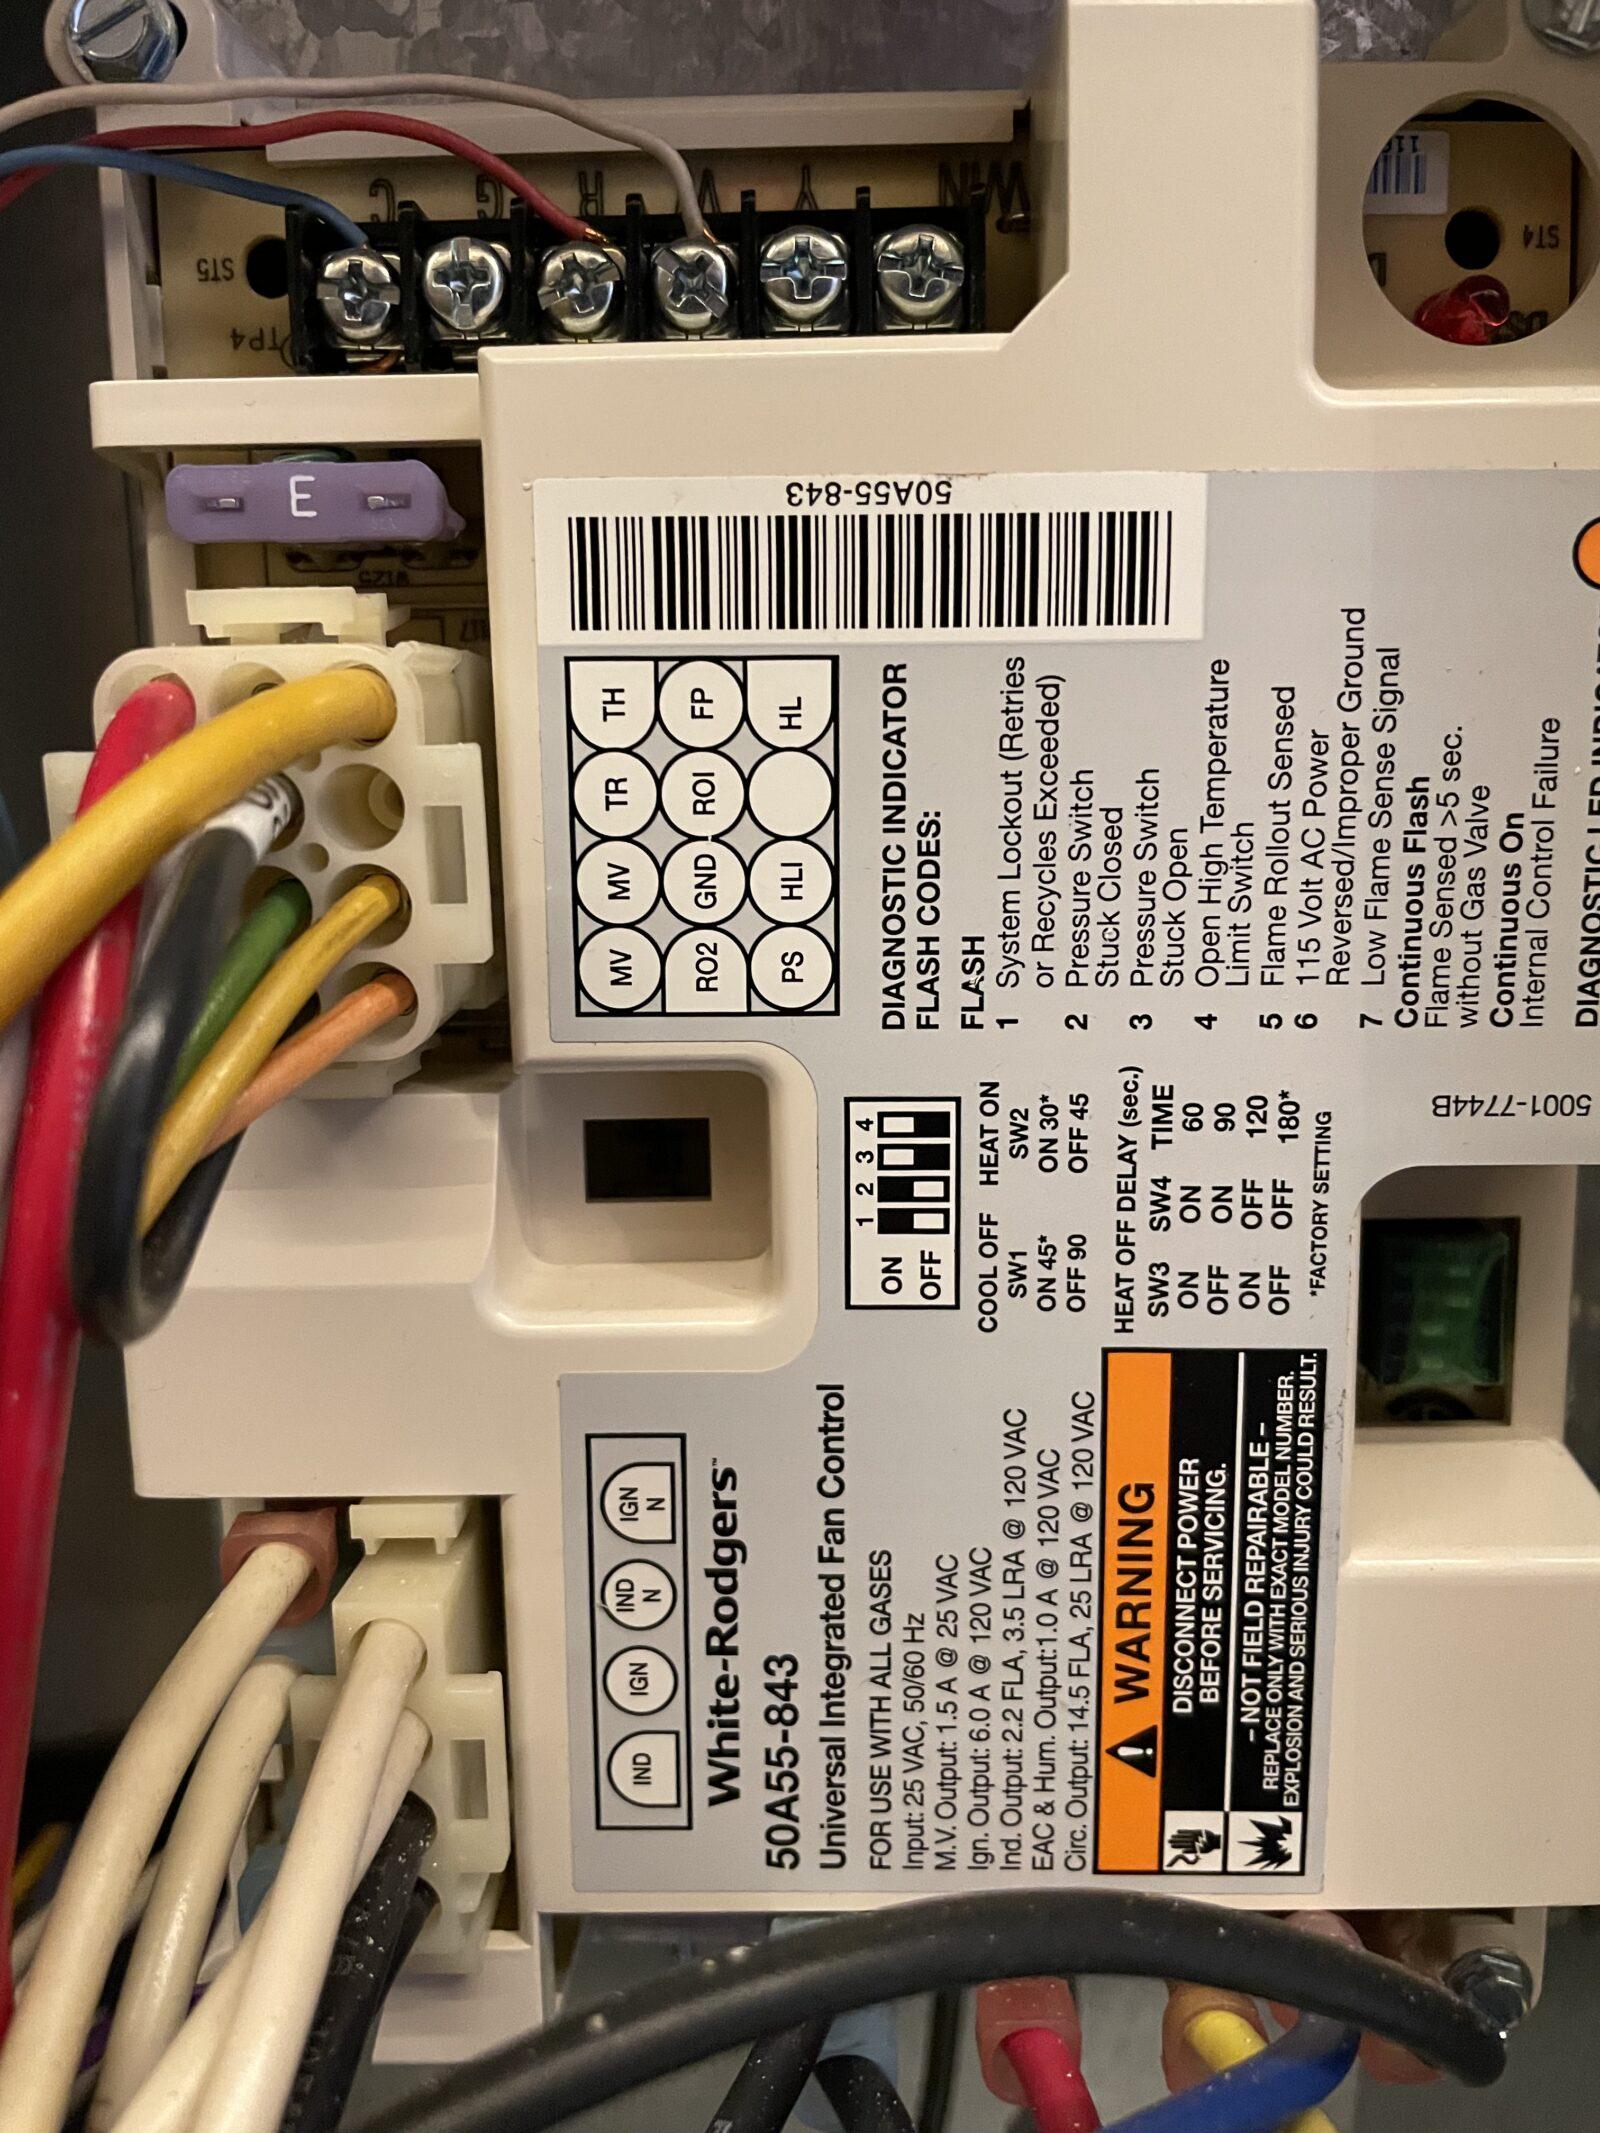
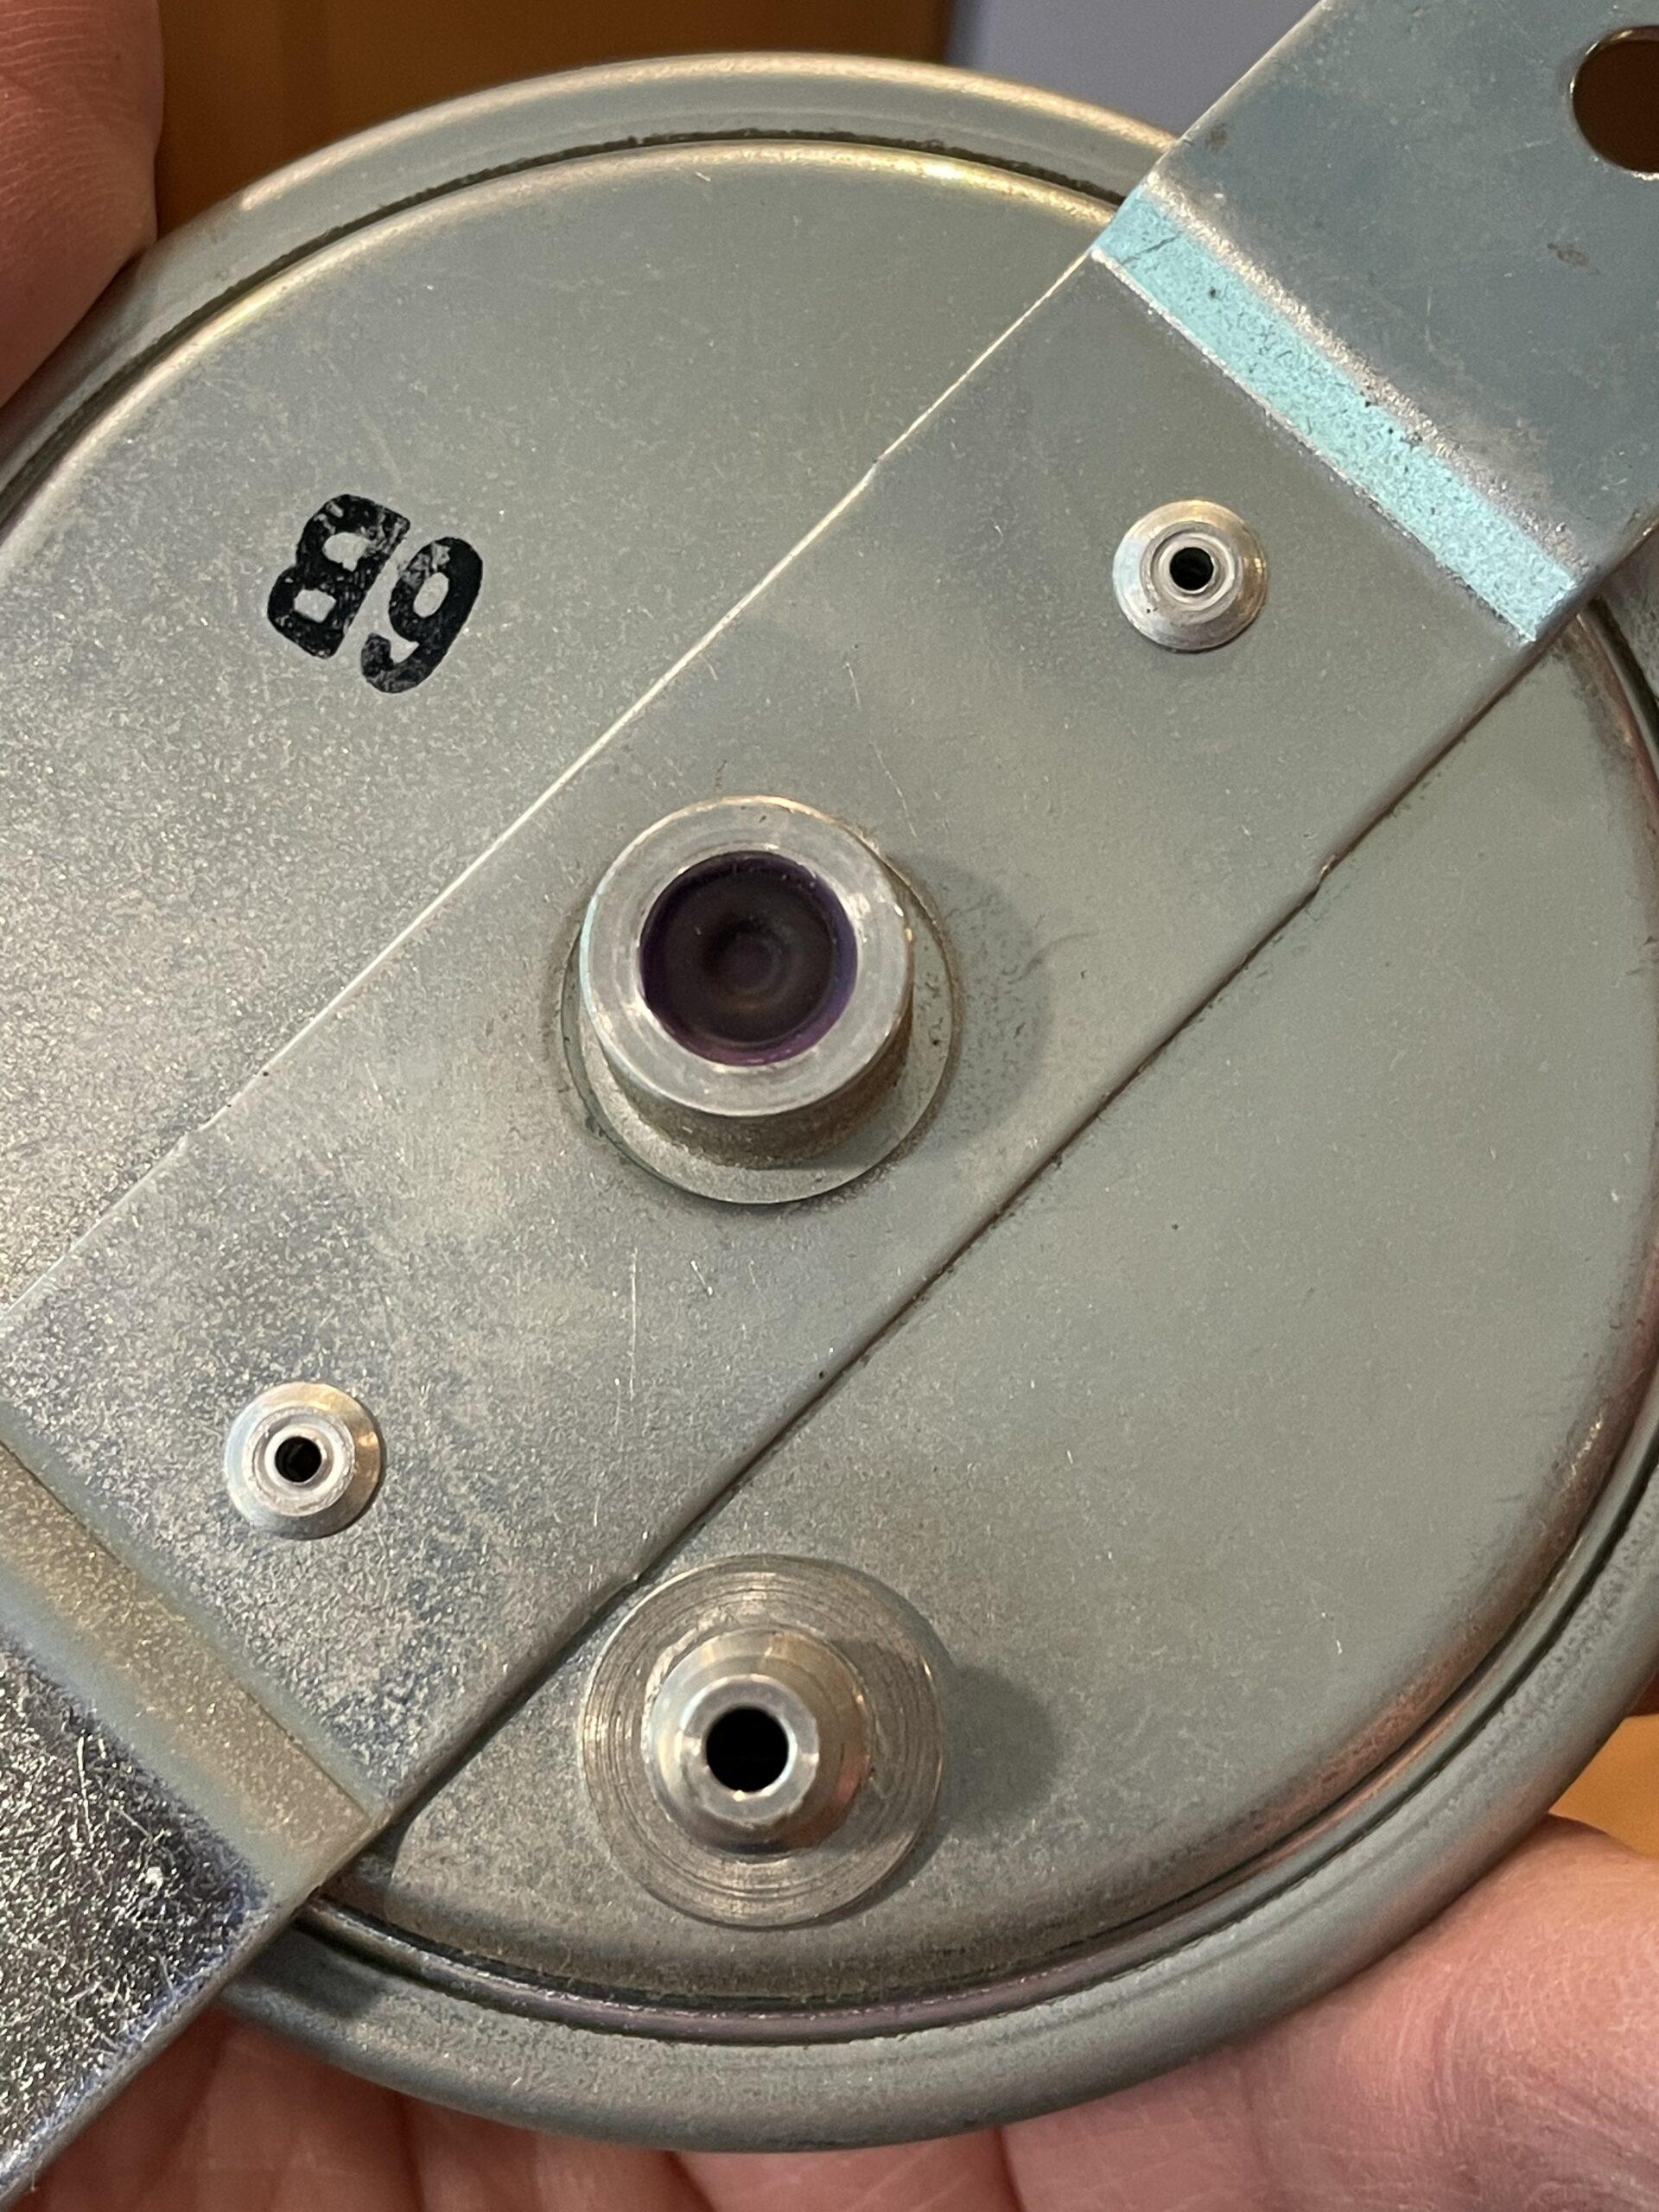
Ideally, when the furnace fails, you the LED on the control box (top, right of the photo below) will blink a diagnostic code which greatly narrows down what you should start looking at. In absence of that, I had to take a refresher from YouTube University (thank you, Jay) on the sequence of operations so I could watch.
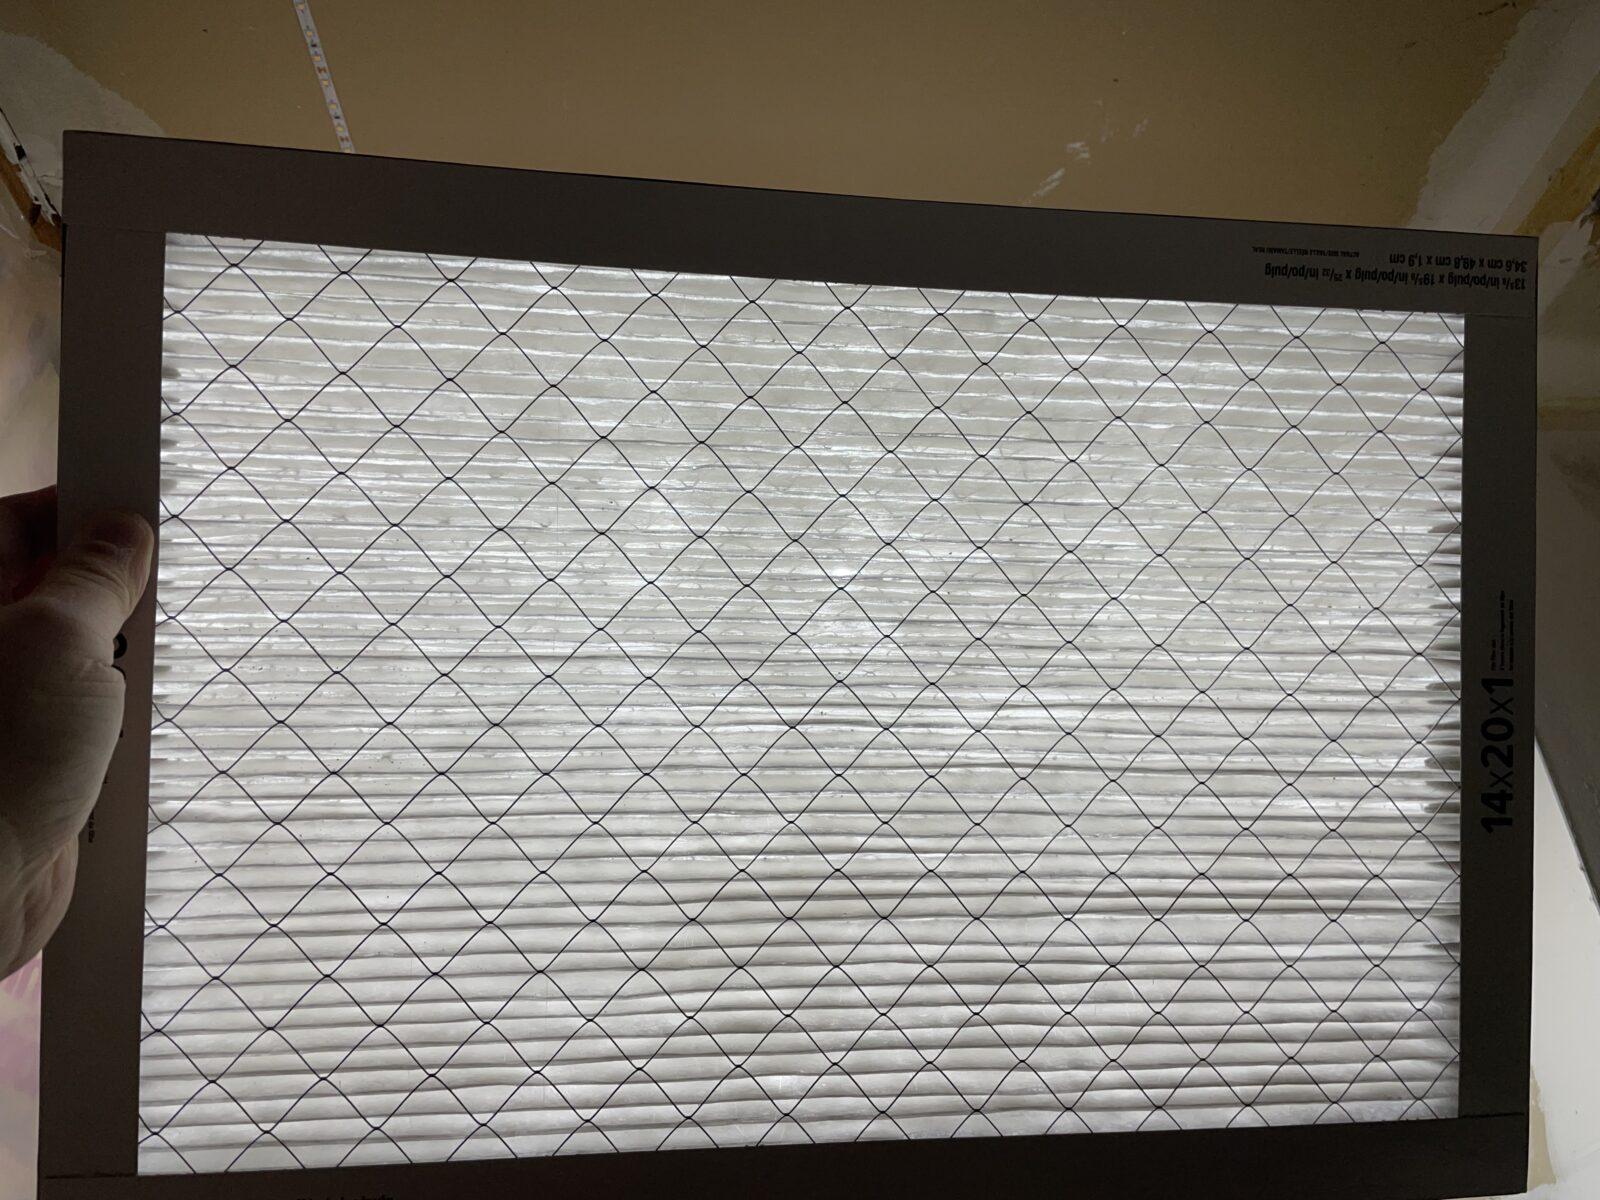
The first, obvious thing to check is that the air filters are not super choked up with dirt. I was pretty sure they were fine, but they’re easy enough to check:
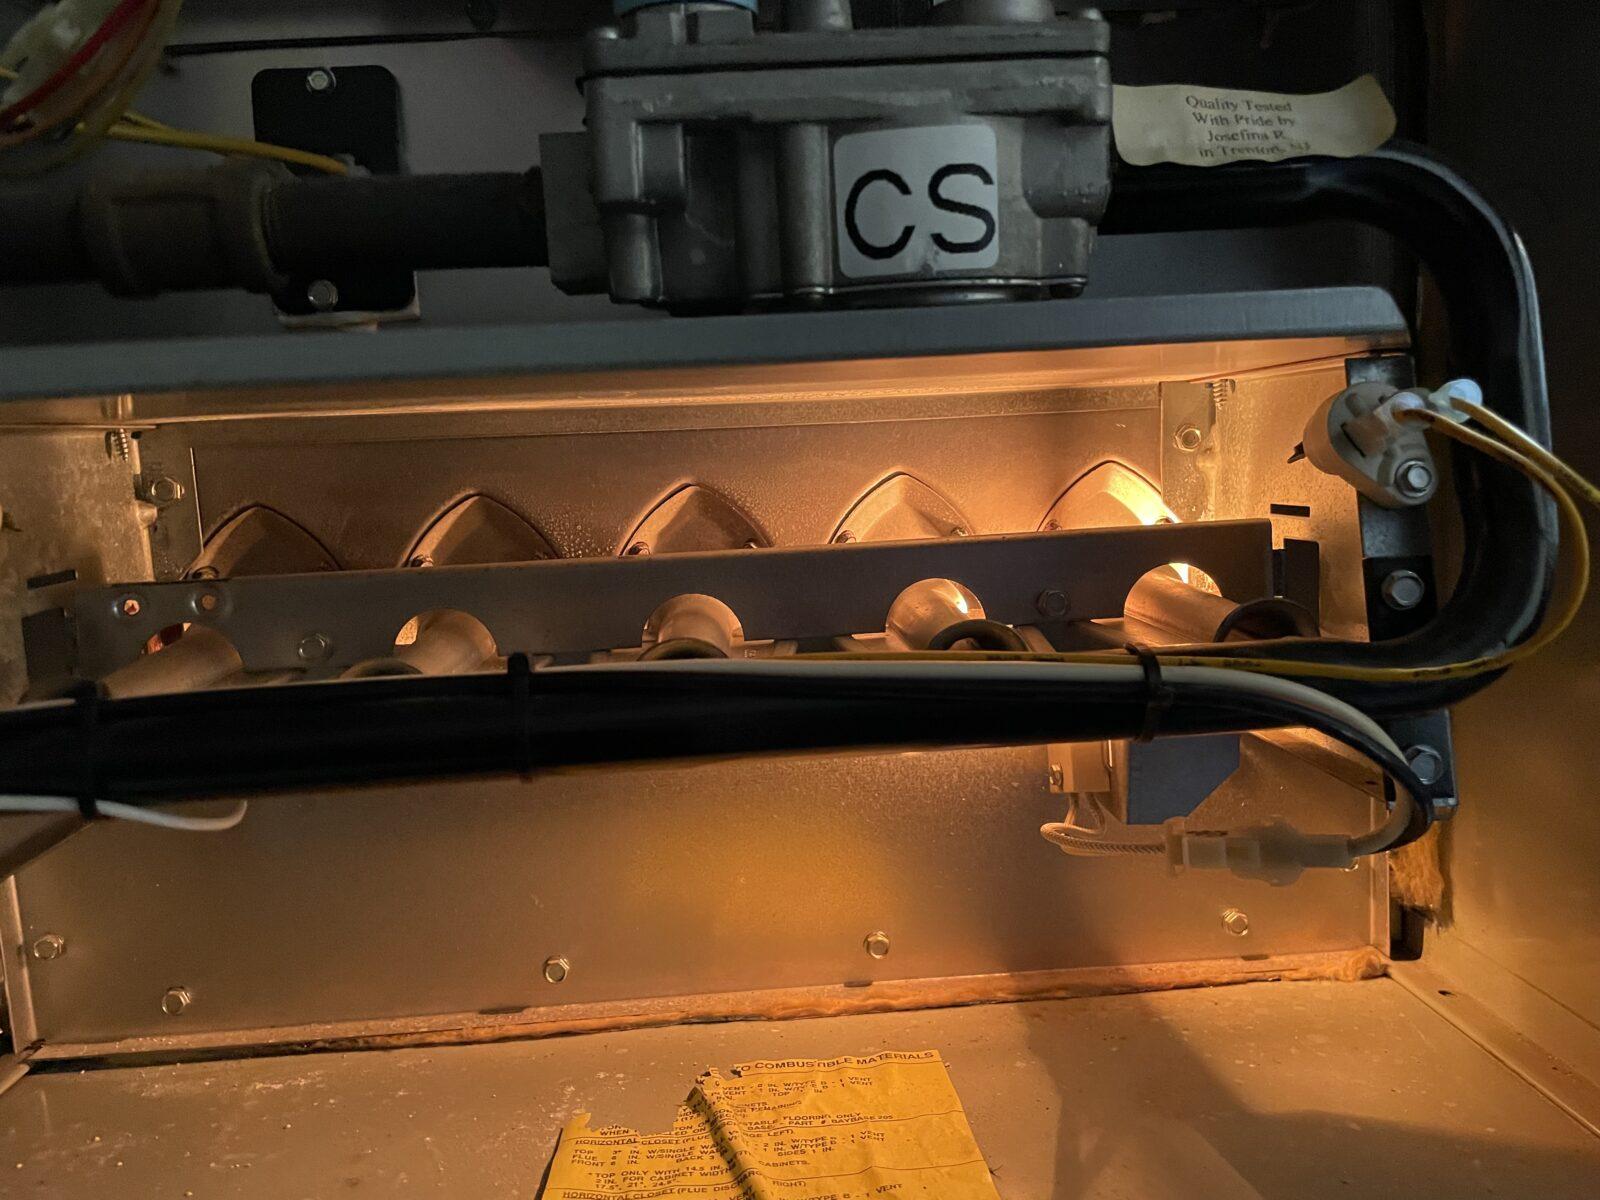
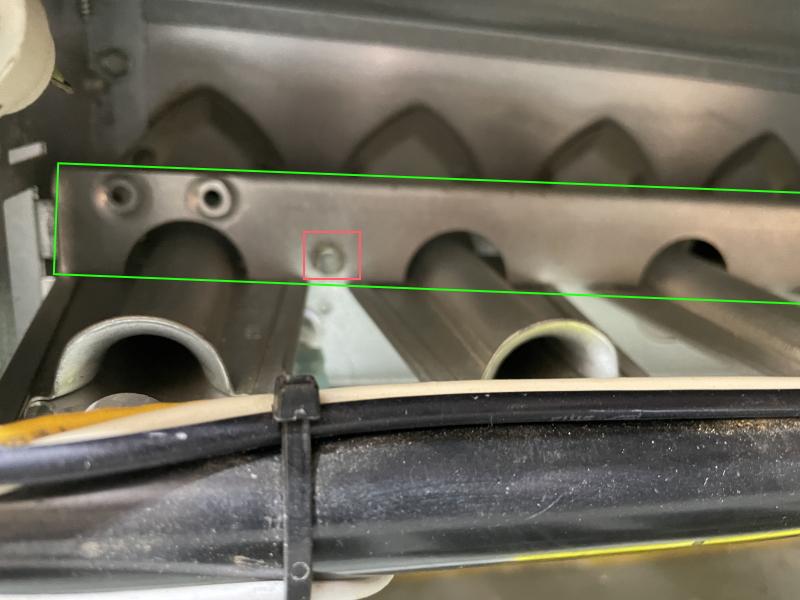
Step two is to check the nozzles for contaminants. To do that, ensure the furnace has completely cooled down, then turn off the main power. Remove the front panel covers. On the assembly, there are two sheet metal screws between nozzle 1 and 2, and 4 and 5. See the red box below. Once these are out, the metal top plate should lift right out. Gently push under each nozzle to slide it up and out from the gas outflow.
Repeat until all five nozzles are out:
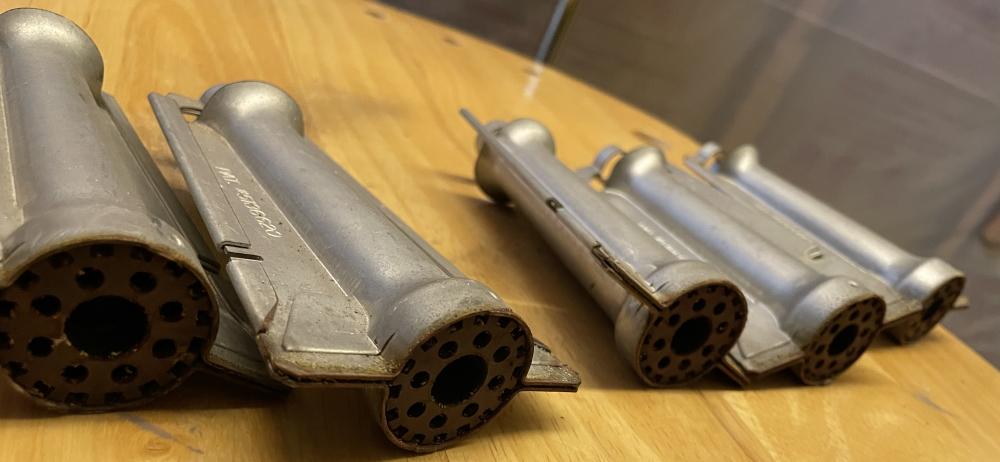
Although it’s not enough to cause failure, there was some accumulated buildup over the last year and a half-ish. Use a brass brush to clear out the center and the gap between the metal “wings” on each one.

Slide each nozzle back in and down, place the metal cover on top, and tighten the metal screws.
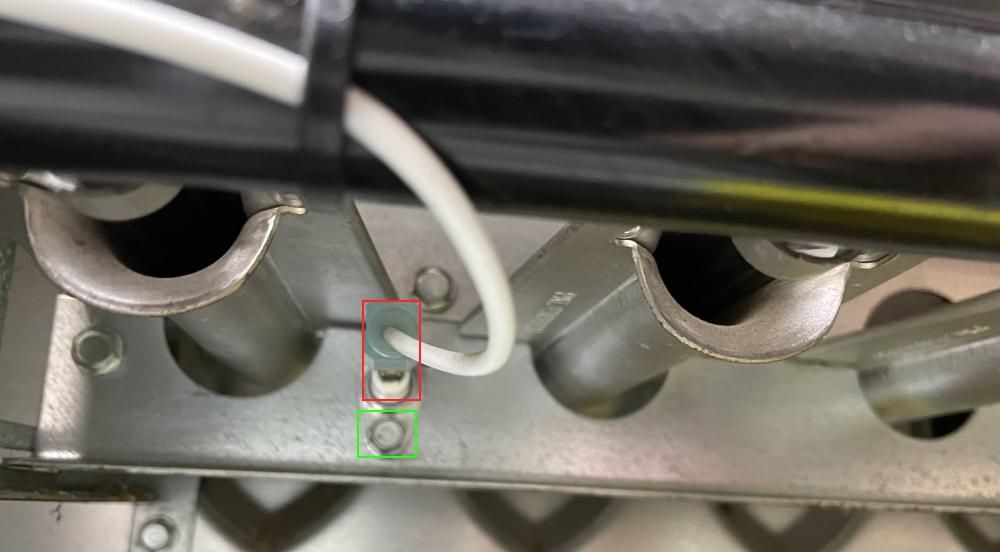
While you’re in here, take a look at the next common thing, the flame sensor. It can be accessed by removing the smaller metal screw shown below in the green box. Gently pull the assembly out about 1″, then angle it at the bend. Remove the metal clip.
Usually, you can use a steel wool pad to remove any black sooty stuff. (Or, if you were flying blind during Thanksgiving 2016, recall that you have a new flame sensor to swap out.)
Pop the electrical clip back onto the sensor, thread it through the hole so it points “up at 45 to the left” and tighten the metal screw.
If there is a switch in the door, put a clamp on it for now. Flip on the breaker power, ensure the thermostat is back on, and wait for it to call for heat. After the blower starts, you should see the warm glow of the igniter. Next, some clicks as the gas valve opens. Then blue flame of heat. (Apologies for shaky iPhone footage.)
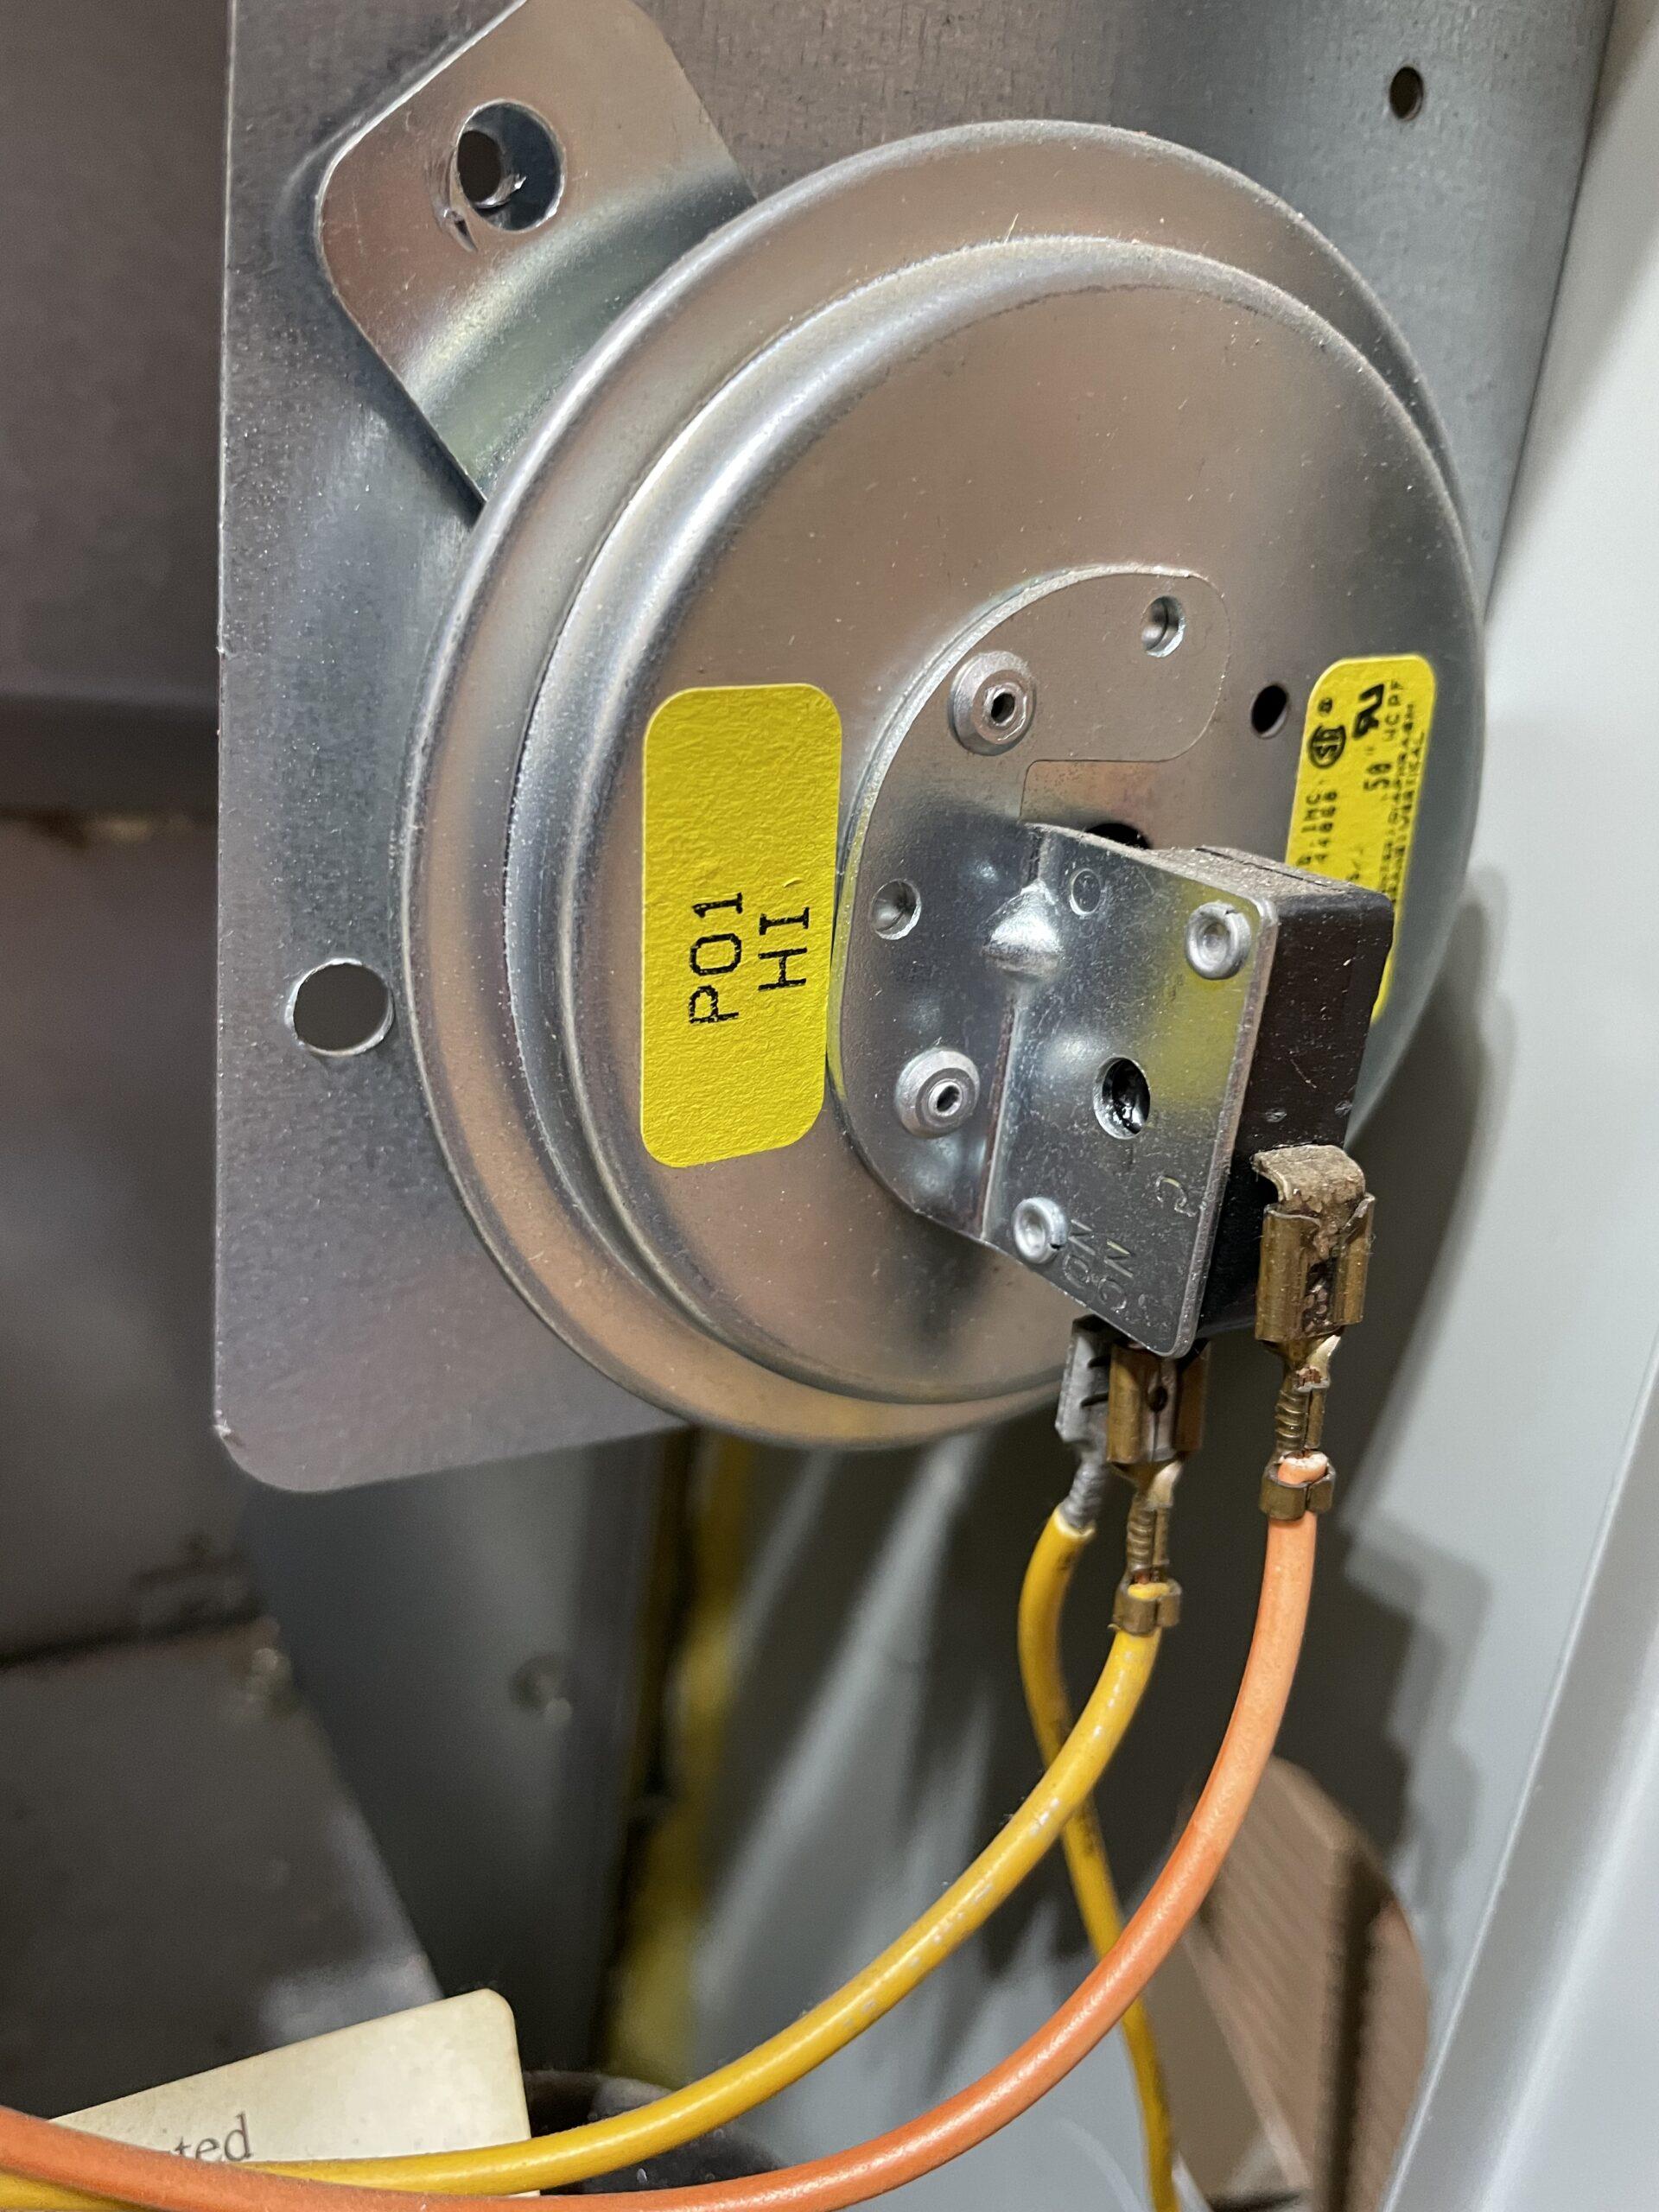
EDIT: 2022-03-16: The third item to check is a pressure switch. I’d been deferring because the problem hadn’t recurred. Today, we finally got a diagnostic code from the controller (three LED blinks) indicating that the pressure switch was stuck in the open position.
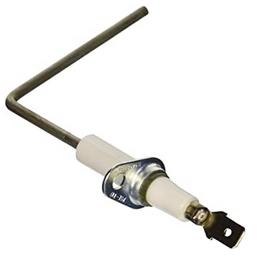
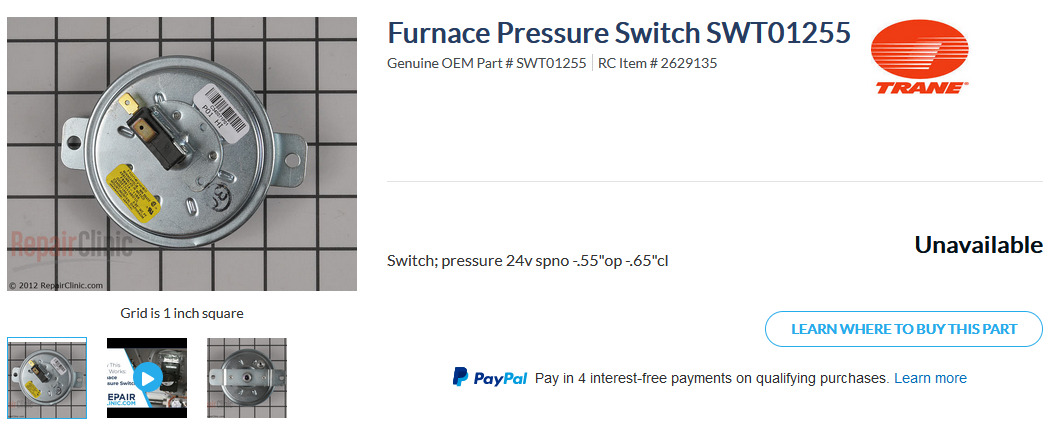
Sadly, I spent way too much time researching this. My initial search for a replacement part for a 28 year-old furnace yielded the unfortunate but unsurprising result:
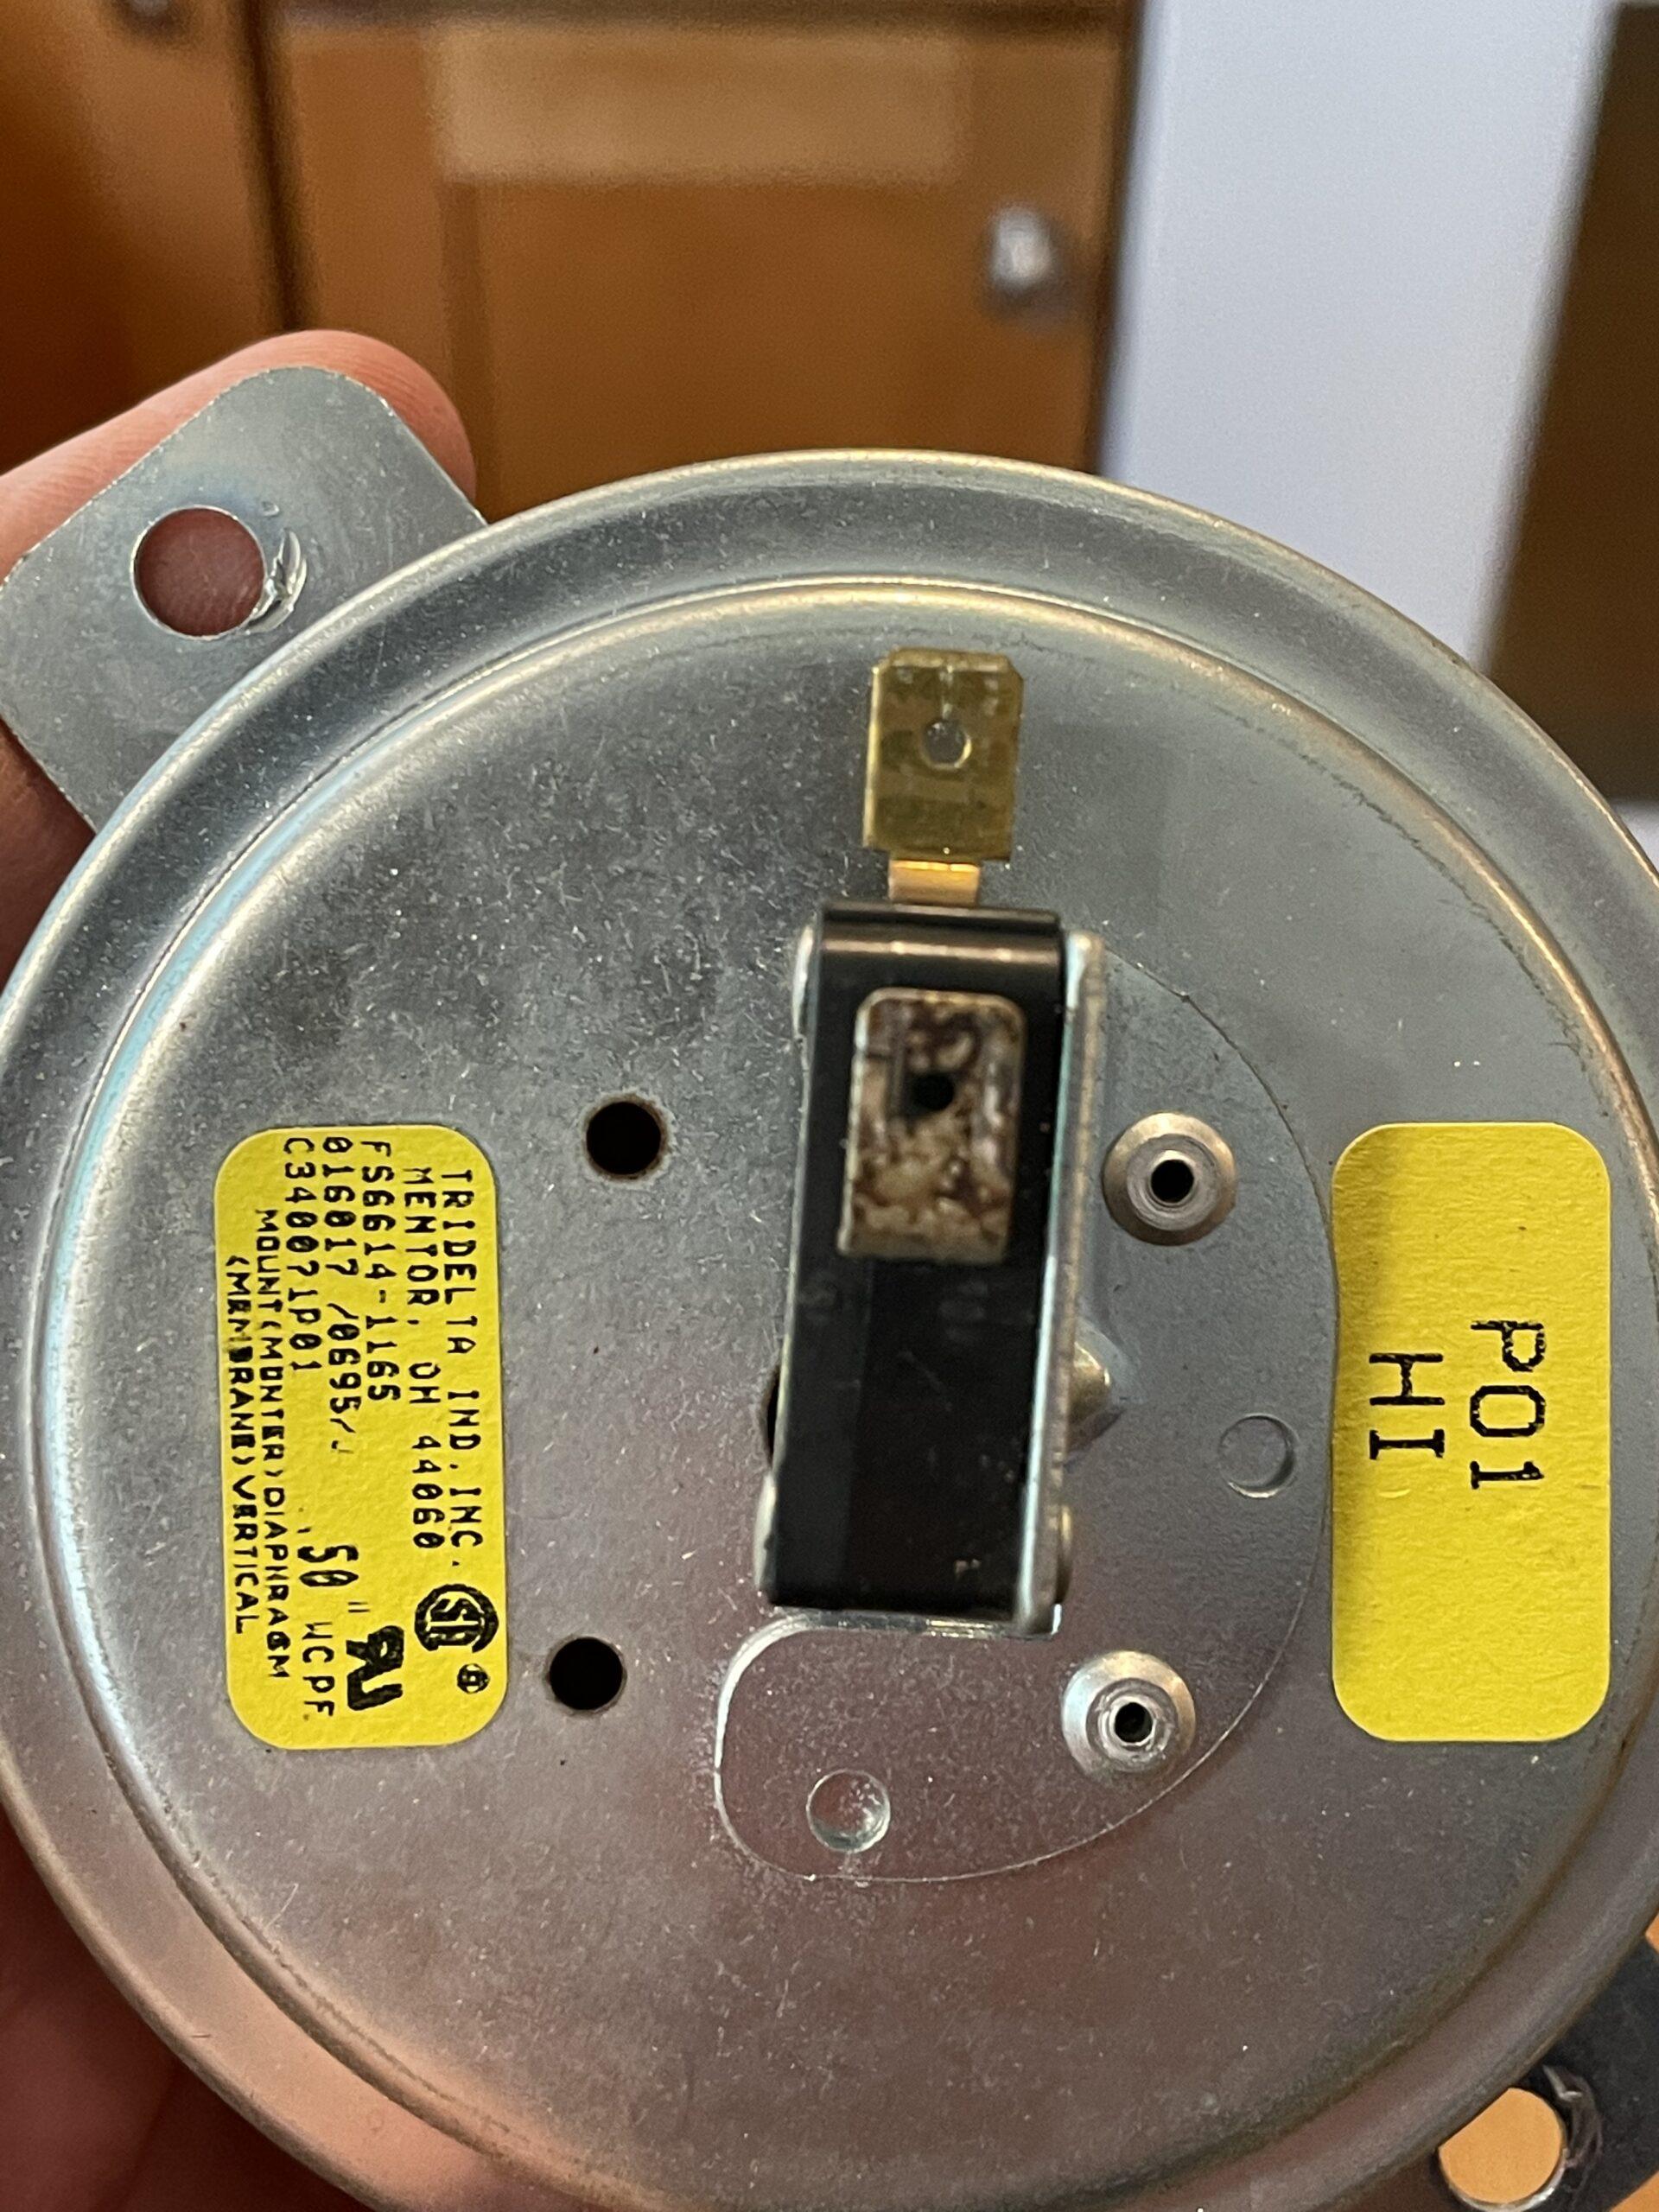
Looking at the part on my unit is helpful because there are bunch of numbers that give us some hints on the nature of the device. The first bloc are part numbers for specific furnace brands:
- FS6614-1165 – Rheem
- 016017 – Lennox
- C340071P01 – Trane
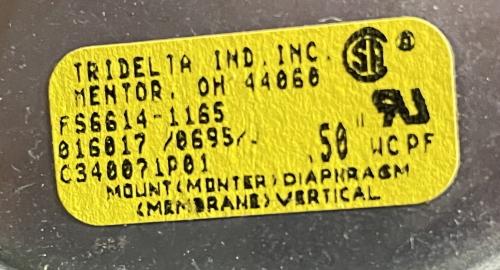
The pressure switch is designed to remain in the open position until the airflow from the draft inducer is strong enough to safely expel exhaust gases from combustion. The most important number, 0.50″ is the pressure needed to close the switch.
HVAC uses a lot of non-metric units (e.g., BTU). 0.50″ is the height a 1″ x 1″ column of water would be raised by the pressure generated:
- At 39.2F, the density of water is 0.036 pounds per cubic inch. (Metric equivalent: 1 gram per cubic centimeter at 4C)
- 0.5″ of water column pressure is approximately 0.018 PSI.
Thus, if I can find a new or used part that uses the standard 24V and closes at 0.018psi (0.5″ water column), it should work.
2022-03-19: Prices for used parts varied from $30 up to $150. I found one for $42 from a seller with a good reputation. Three days later, it arrived. Installation was simple:
- Cut the breaker to the furnace.
- Remove the two sheet metal screws on the corners.
- Gently pivot the unit towards you and, using a flat blade screwdriver, nudge the air hose off the back.
- Remove the two sets of wires (yellow / orange)
- Reinstall in reverse order.
- Turn breaker on and test
So far, so good. I need to eke out another two months before its replacement is installed.