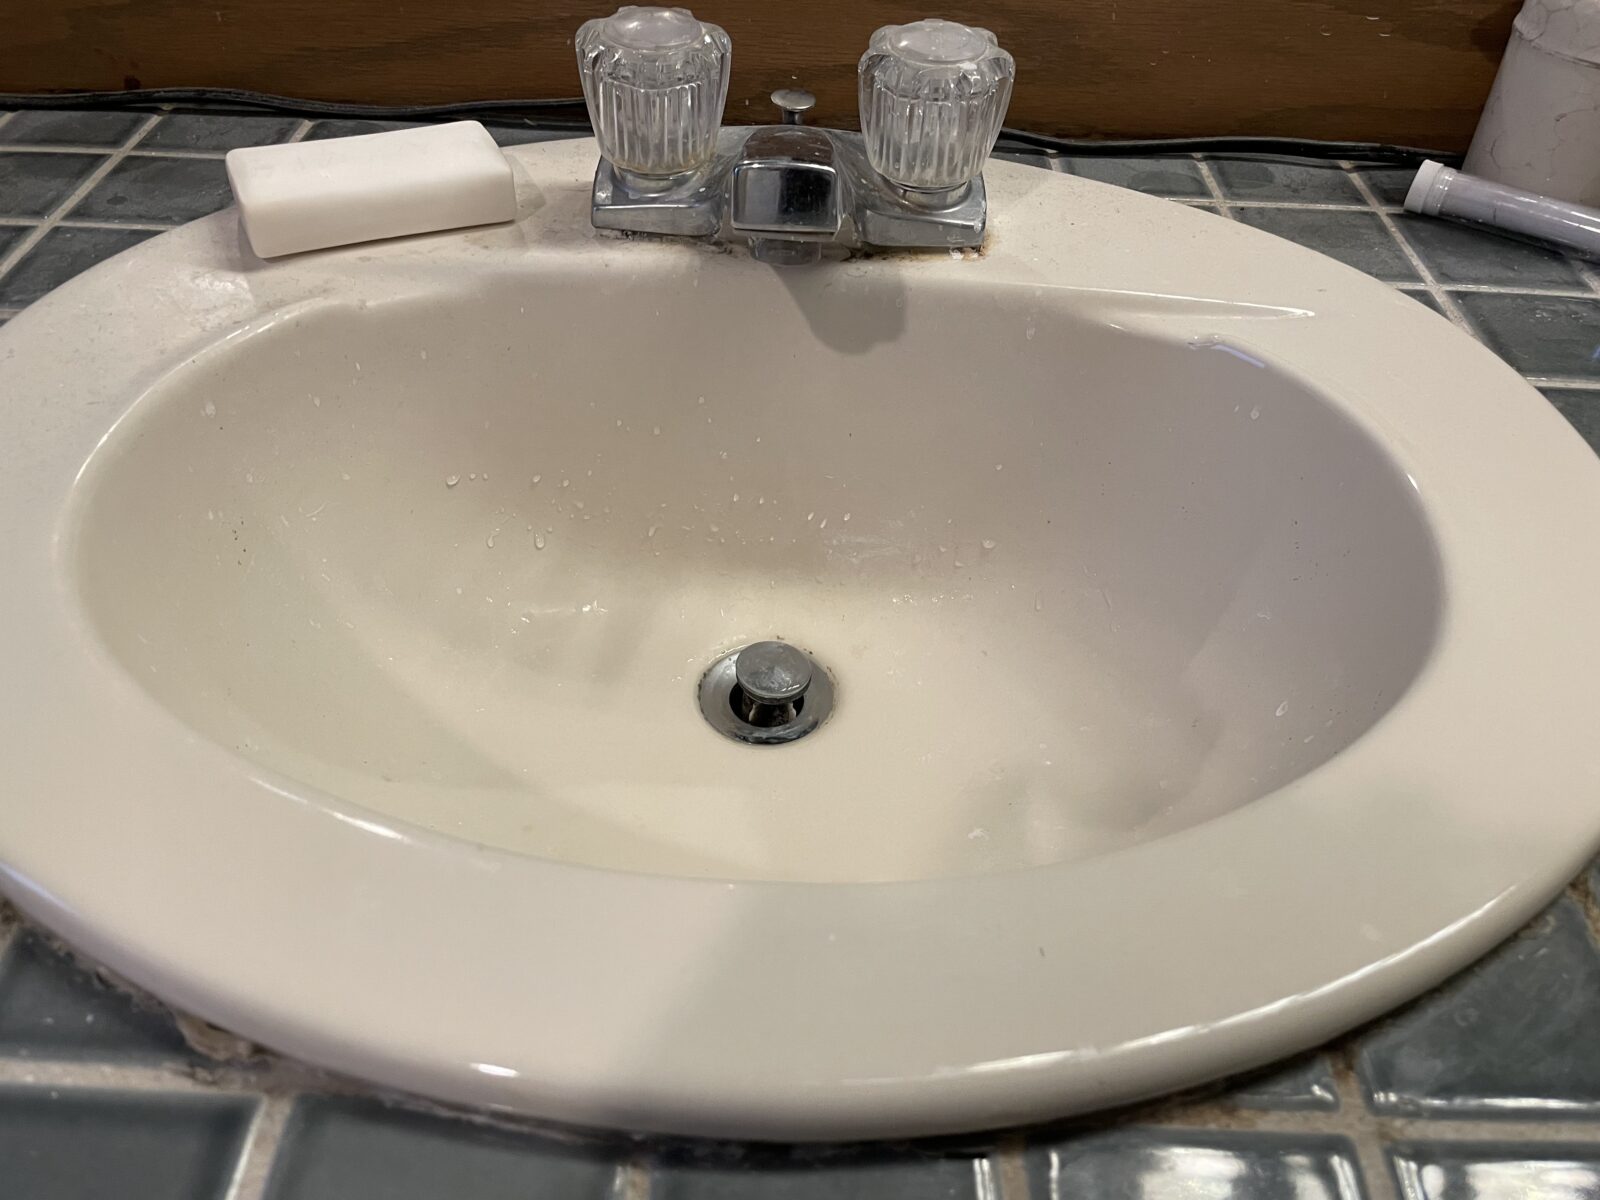
My how time flies. It’s been over 17 (!) years since I undertook replacing all four of our bathroom sinks. The fixtures (which were the house original) have been looking sad faced and the pop-up linkage is flaky. The sinks, to varying degrees, could use a spruce up as they are visibly worn where water contacts them.
Parts list this time around was simply:
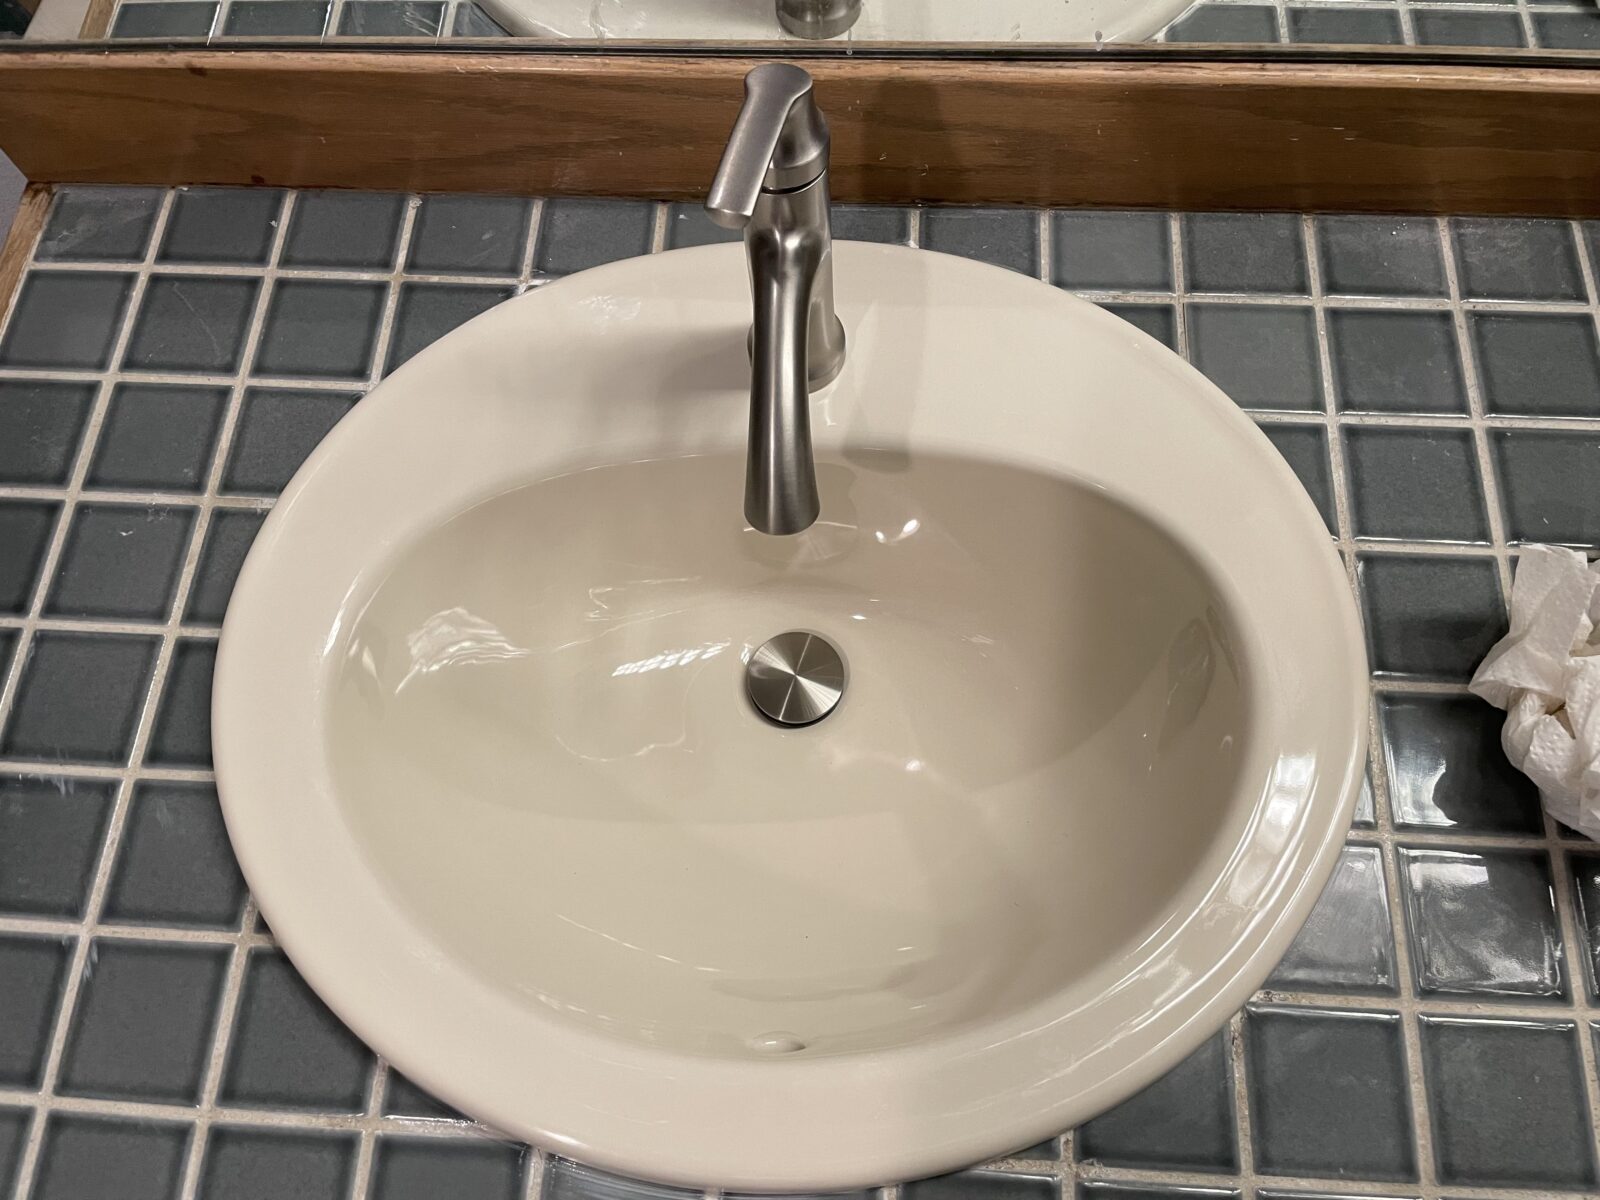
| Four Kohler Pennington drop-in vitreous china sinks, almond, with overflow drain | $457.49 |
| Four Moen Wellton One-handle bathroom faucets, brushed nickel (includes the push-down drain) | $264.20 |
| Four tubes of almond-colored silicone caulk, silicone finishing tools, blue painter’s tape, paper towels | $50.00 |
| Three flexible P-traps | $25.00 |
| Albion Engineering Caulk knife and a stack of 100 utility blades | $40.00 |
In theory, the steps are simply:
- Shut off water valves and disconnect hoses — last time, I had to replace the valves because the connector hose was part of the original. This was a pleasant victory.
- (Place a catch basin before I) Disconnect the drain
- Remove the old sink
- Install fixture and drain into new sink — although this can be done later, it’s far less contortion to the faucet up front.
- Caulk around hole
- Drop in new sink
- Hook up water hoses and drain — looking at my write-up last time, I see I had relied on using Teflon tape for the compression valve. I have since learned that is a bad idea.
- Caulk around rim to seal
- Drink beer while it’s drying
I’ve done three of four sinks. So far, the most effort was spent removing the old sinks (and repairing damage from that). Apparently in 2004, I used adhesive caulked and did a very thorough job. Bad, DIYer! I rued this as I tried cutting through it with ordinary single-edge razor blades. It … did not go well.
I had much better luck with an Albion engineering caulk knife that uses ordinary utility knife blades:


It gives more leverage to work it in there while also keeping my fingers away from the sharp end. (The single edge razor blades did some spectacularly dangerous things that will be reenacted in my direct-to-library DVD TV series.) Based on the two sinks so far, it takes 4-5 utility blades to work around the sink to cut through what I could.
Despite my best effort, popping the sink up took a few ceramic tiles with it and cracked two others. I didn’t want the collateral damage to expand into a complete re-tiling — there was no way I would find tiles close enough in color. I smoothed the surface and tiles then applied a health amount of Gorilla Glue to put them back into place. For the few that weren’t covered by the brim of the sink, I re-grouted and sealed.
Another unanticipated problem I ran into was the position of the drain was significantly shifted from the original sink. I had to replace the P-traps underneath. Since I had good luck with a flexible connector on one of the sinks, I simply bought three more.
Fun fact: A P-trap holds a small amount of water in the drain to prevent sewer gas from seeping up and stinking up the room – such as would happen if a child was off at college for several months, the bathroom had gone unused, and the existing water evaporated. (For example!) It also catches hair. The idea is it’s better to pull it out here rather than fishing it out somewhere in a pipe in a wall.
Fun Fact #2: The P-trap connects via a compression fitting. I’d always had problems with this leaking until I stumbled upon Plumber Forums. Every professional puts the flexible end on first to make a square, sealing connection. No Teflon tape is necessary!
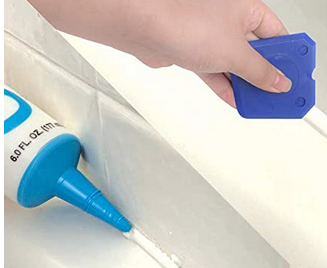
For the final caulking step around the sinks, I laid out a lot of painter’s tape around the perimeter – the goal here was to prevent caulk from getting into the grout channels between tiles. After caulking around, I used the silicone finishing tools to ensure a small, curvy connection. The extra overflows onto the painter’s tape (rather than the tile — or my fingers) where it could be pulled off later.